
Learning how to needle felt basic shapes is the start of your needle felting journey. The basics are quick and easy to learn and will help you to needle felt with confidence. My ‘Dos and Don’ts’ post is also a great place to get started, as well as ‘how to needle felt a ball’ So, are you ready to learn how to needle felt a simple shape? The video tutorial is at the bottom of the page.
The shape you are about to make could be used for the body of this needle felted hare.

Let’s Make A Basic Shape
Watch this video tutorial before you start
Now you have watched the video it is time to practice.
Start With Less Wool Than You Need
The aim is to build the shape gradually and firmly. Remember, you can add more wool but not remove it.
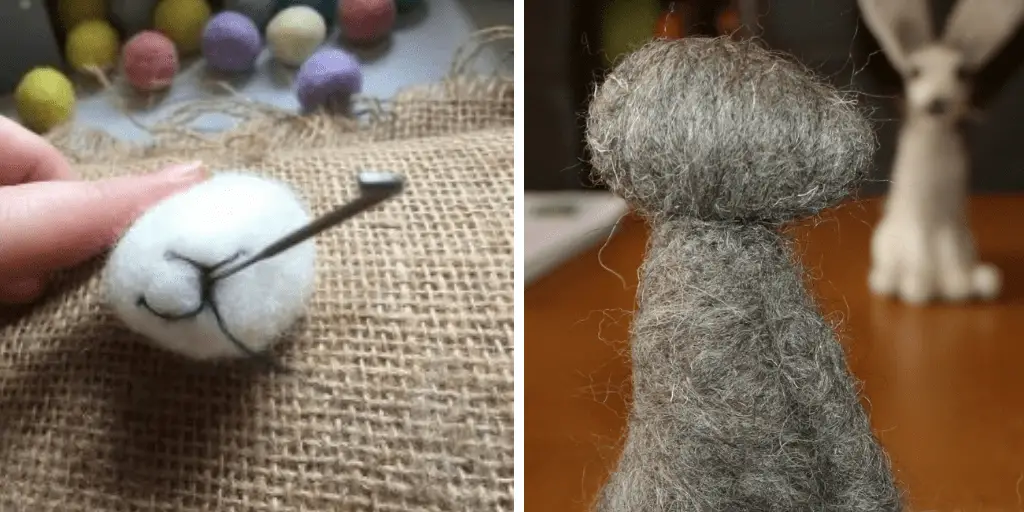
1/2 Start with a long length of wool and roll into a TIGHT rough oval/cylinder shape, stopping and tucking in the ends as you go; to get it really tight, push down into the foam pad or whatever surface you are using. Do not start to poke with the needle until you have rolled half way. If it is loose, unroll and start again. This will save you so much felting time and give more control over the shape.


Top tip: Start with less than you need and add to it as you go; you can add but not take away! Stab the wool as you turn – this is the felting process which tangles and locks the fibres together – keeping the needle straight until the wool fibres start to lock together and it starts to holds its shape. Keep turning as you felt so as not to make dents in one part of the body.
Continue To Build The Shape
3 Continue to felt until you have achieved the desired shape and size for your project

4 When you have achieved a rough oval shape (the narrower end will usually become the neck of the body) gently roll it between your hands. This helps to smooth and shape the body and covers any deep needle marks.

What Needle Felting Wool Is Best
If you are using a finer wool, you will need more wool and it will also take longer to felt. I prefer to needle felt with a more robust wool which is much more forgiving. Some of my favourites are Grey Jacob, Shetland, 56’s English, Swaledale, and Lincoln; all natural and un-dyed. If it is colour you want then Corriedale is a good compromise. It is a blend of Merino and Lincoln and comes in a large range of colours.
Now you have your basic shape, continue to felt whilst turning the wider end. Felt it flatter underneath to help your finished animal to sit – the legs and tail (if required) will also assist with this. Your finished body shape should be soft but springs back to shape when you squeeze it.
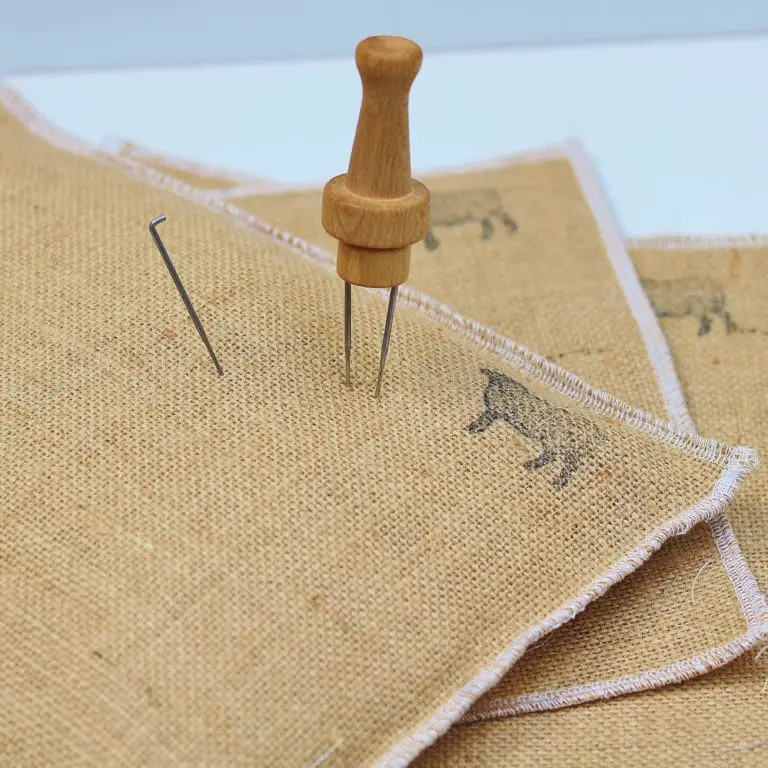
Felting Needle
I have used a 38 gauge star felting needle . This is a good all rounder. However, this is personal preference and a 36 triangular would also do the job just as well. Tip: The higher the number the finer the needle.
Top tip: Don’t worry if you have created a lumpy look due to over felting in one area. You can fix this by laying a very thin top layer of wool (see below) and gently felting all over that area until it is just secured and lightly felted on. Expect this to happen; you are just learning. The beauty of needle felting is that the majority of issues can usually be fixed – The biggest problem is caused by starting with too much wool…less is always more!

Watch The Video Tutorial
How To Needle Felt Animals
New to needle felting and want to start with animals? Needle Felting Made Easy: How to Needle Felt Animals takes you through the basics with straightforward advice and step-by-step guidance. No fluff or fuss – just what you need to build confidence and get results.

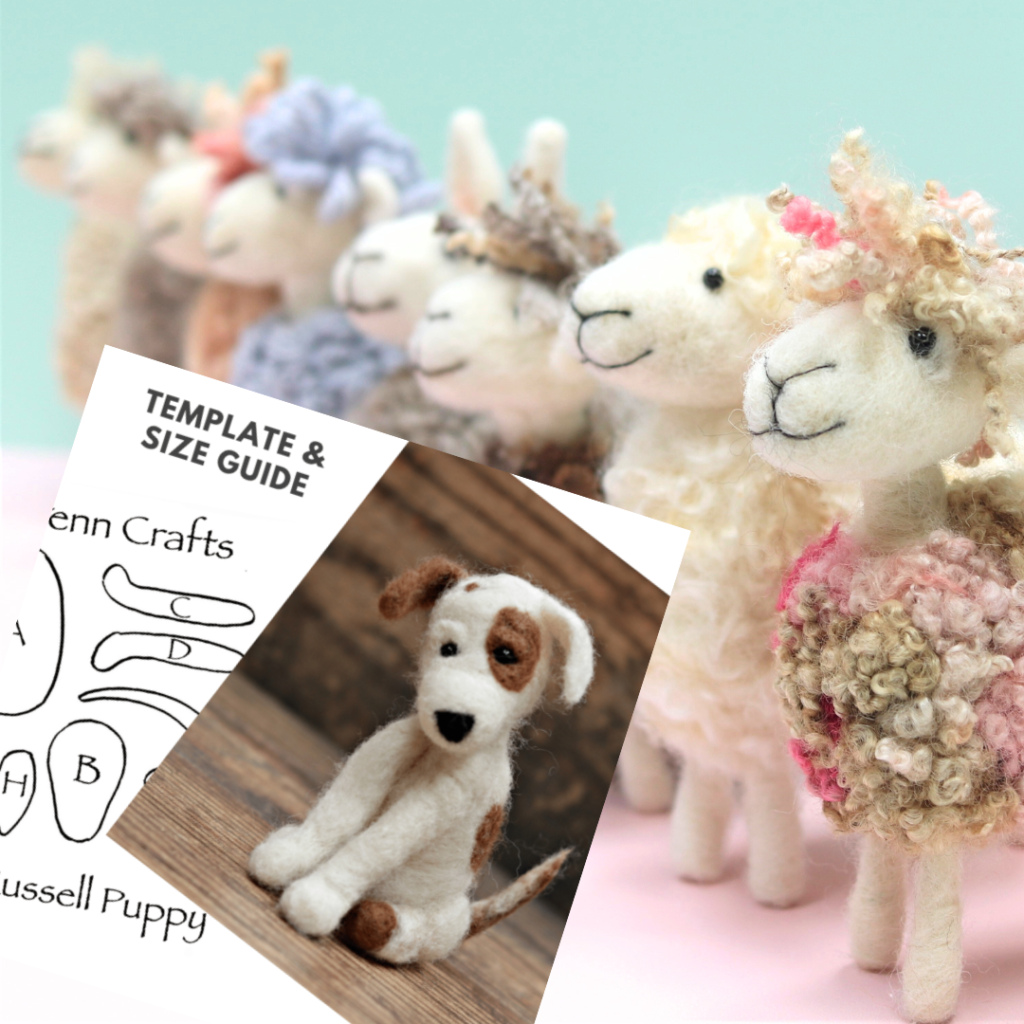
Easy Needle Felting Patterns?
Patterns are a great way to learn needle felting in a structured way, focusing on a particular project. These beginner needle felting patterns are an excellent way to dive into the world of needle felting . Happy felting!


I agree with Blair I have looked for this information for awhile and just stumbled on your blog today. Thank you for your easy-to-use information.
Wow! Thanks so much! I have always wondered how this was done. I live in the rural mountains with lots of sheep! I have cleaned and pulled wool to work with….is this wool ok to use? I didn’t watch the video…will now…hope it shows me how to add a head and arms and legs! Thanks again, Sandy! Stay safe!
Hi Jeanne. How lovely to have wool all around you. It’s perfectly fine to use as long as you have removed most of the lanolin. If you card it with a couple of the metal dog brushes it should be lovely for needle felting. What sheep breeds do you have? ?
Thank you so much.wonderful video.i lwarned alot
found all this info very informative; can’t wait to get the materials. Thank you sooo much for sharing1
Thanks so much for stopping by. Glad you’re finding the tutorials helpful ?
Hello! I love your video. You make it look so simple! My hubbie has Dorper sheep. Is their wool suitable for needlefelting?
Hi Close and thanks for your message. I’m not familiar with Dorper but most wool can bee used for felting. However the Dorper has a finer wool according to the micron count so would be great for wet felting. ?
You’re welcome ?
Thank you for this tutorial! I’m thinking of trying wool felting. I appreciate that you gave good company names as vendors for the wool!
Really glad you’re finding the information useful Gail. Hope it helps while away a few hours. ?
Thanks again for allowing us to see what we could achieve as I couldnt find the info anywhere
Really happy your enjoying the tutorials. I have added a new one to my YouTube channel. Happy creating and stay safe x
Hi! Thanks so much for making this craft so available. Some crafters are so secretive about their craft knowledge, thus making you feel as though you’re some kind of, would be, craft criminal. ? I really hate that, because all I want to do is learn something new, fun and interesting. Thanks again for not making us jump through hoops to learn this wonderful craft! ????
Hi Blair and thanks so much for your lovely message. Crafts, of any kind, are so important to take us away from the stresses and strains of every day life, and I’m so glad you are enjoying the blog. Happy felting. Sandy ?
Brillaint, thank you. Am just going to start, and greatly appreciate seeing that the whole process can be straightforward…
You’re welcome Jenny. Happy felting ?
Love your explanations and photos! Just starting this great craft and love any info I can get…yours is a true help. Thank you!
When I see Lincoln shire crafts ,it makes me think of home. Thank you.
Thanks so much June. Such a lovely thing to say 🙂
Brilliant, thank you.
Glad it is of help to you. Thanks for your comment 🙂