
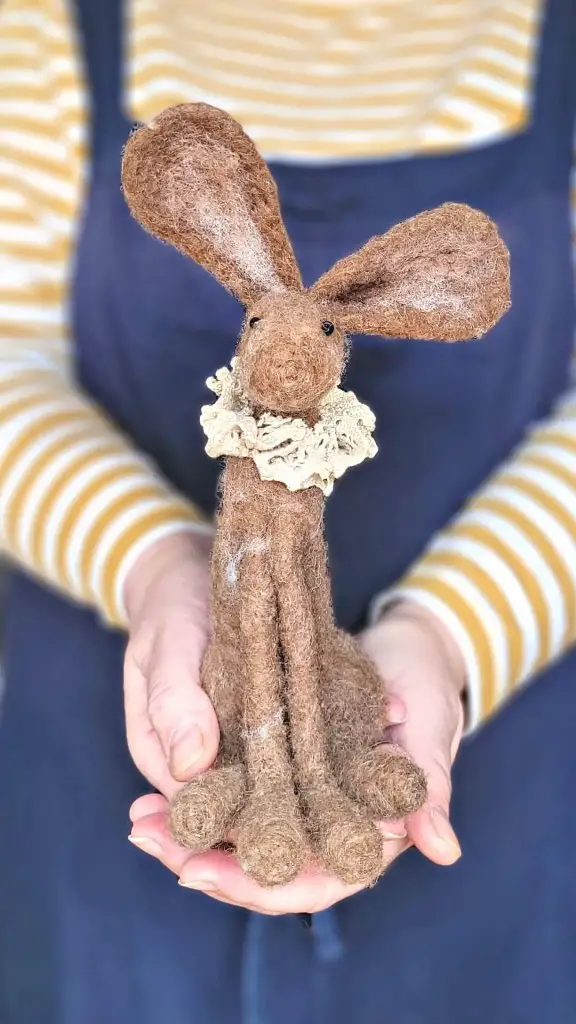
Are you ready to learn how to needle felt animals but aren’t sure where to start? Needle Felting Made Easy: How to Needle Felt Animals will point you in the right direction. Whether you’re completely new to felting or looking to build on the basics, this post is packed with practical tips and clear guidance to help you get going. It doesn’t need to be complicated, and with the right approach, you’ll be making solid progress in no time. I’ve also included links to some of my step-by-step animal tutorials, so you’ll have everything you need to move from learning the technique to actually creating something you can be proud of.

Build Skills With Confidence
This post isn’t about fancy finishes or complicated methods. It’s about helping you get the hang of the tools, understand how wool behaves, and learn how to shape it into something that looks the way you want it to. The focus is on strong foundations, not rushing or aiming for perfection. Felting can be a really relaxing way to spend your time, and once the basics are in place, it gets a lot easier to enjoy the process and start experimenting. Whether you’re making your first animal or coming back to the craft after a break, you’ll find advice here that’s easy to follow and genuinely useful.

Needle Felting Made Easy Key Points:
Choosing the Right Materials:
- High-quality felting needles: Invest in fine and coarse felting needles for different tasks.
- Coarse wool top or carded wool: Select natural colour needle felting wool to bring your creations to life.
- Felting pad or mat: A soft surface to work on and protect your needles.
- Optional extras: Consider wire armatures, felting handles, and realistic eyes for more complex projects.

Understanding Your Tools
- Learn about the different types of felting needles and their uses.
- Understand the purpose of your felting pad or mat and how it helps in the felting process.
- Experiment with optional tools to see what works best for your projects.

Mastering The Basics
- Learn how to properly hold and use felting needles to avoid accidents.
- Practice the basic poking and stabbing motions to shape and sculpt your wool.
- Start with simple shapes like balls and cylinders to get a feel for the process.

Creating Sculptures with Depth
- Gradually add layers of wool to build up your sculpture’s volume and form.
- Pay attention to proportions and symmetry for realistic results.
- Use reference images or real-life objects for inspiration and guidance.

Adding Details and Textures
- Experiment with different felting needle sizes to achieve varying levels of detail.
- Create textures like fur, feathers, or scales by altering your poking technique.
- Blend and mix colors of wool roving to achieve realistic shading and highlights.

Troubleshooting Common Issues
- Learn how to fix loose or unevenly felted areas by reworking them with your needles.
- Address fuzziness by gently felting the surface with a fine needle, at a diagonal angle.

Take the Next Step With Your Felting
Once you’ve made a few animals and you’re feeling more at ease with your tools and wool, it’s a good time to start looking at how to improve your technique and get more detail into your work. There’s no need to rush into anything complicated, and it is important to take your time. However, if you’re ready to take things a bit further, these next steps will give you more control, better results, and more satisfaction from the time you spend felting.
These aren’t advanced in the sense of being difficult – they’re just the next logical steps. You’ll find they come together quite naturally as your confidence builds. I’ve linked to my tutorials throughout, so you can follow along whenever you’re ready.

Try Using a Wire Armature
Using wire does not make you a better needle felter. However, some larger or more detailed needle felting projects do need some assistance with stability. One of the simplest ways to make your animals more stable and better shaped is by learning to use a wire armature. It acts as a support inside the wool, so legs can be posed, heads can tilt, and tails can stay where you want them. You don’t need to overcomplicate it – my simple wire armature tutorial takes you through it step by step, with no faff.

Work Faster With a Multi-Needle Tool
If you’re working on larger animals or repeating the same core shapes, using a tool that holds multiple needles can save you time and effort. It’s useful for building the main shape quickly, especially when you’re working with core wool. You can then switch back to a single needle for detail and shaping.


Add a Realistic Top Coat
When you’re happy with the main shape, you can start layering wool in finer amounts to create a more realistic top coat. This helps add depth, natural colour transitions, and texture that looks more lifelike. My realistic top coat tutorial shows you how I approach this, from blending colours to placing the wool in a way that adds dimension without overloading the surface.

Learn to Needle Felt Eyes Properly
Eyes can completely change the look of your felted animals. Learning to felt them well adds focus and character. It’s not about perfection, it’s about shaping them evenly and placing them correctly. My 8-step tutorial is simple to follow and works well even if you’re new to this part of the process.

Use a Reverse Needle for Texture
If you want to give the top layer a bit of natural texture, the reverse felting needle is ideal. It gently pulls wool back outwards, which is especially useful for surface texture like fur or feathered edges. It takes a light hand, but once you’ve got the hang of it, it’s a useful tool to have. My reverse felting needle guide covers how to use it and when it’s most effective.

Build Skills That Last
None of these techniques require you to be an expert – they’re just about getting to know your materials and tools a bit better and building on what you’ve already learned. The more time you spend working with wool, the more your confidence will grow. Take it at your own pace, revisit tutorials when you need to, and most importantly, enjoy the process. It’s not about getting things perfect. It’s about creating something that you’ve shaped with your own hands.
Following the Step-by-Step Video Tutorials
- To make learning needle felting even more accessible and enjoyable, I’ve put together an extensive library of step-by-step video tutorials. Whether you’re seeking quick tips or want to follow the entire process of crafting an animal from start to finish, my videos are designed to replicate the experience of a live workshop.

- They’re unhurried, ensuring you grasp each technique, and they’re fantastic for boosting your confidence and skills with every completed project. You can easily follow along with the videos, pausing and rewinding as needed, allowing you to master each aspect of needle felting. With over a decade of teaching and curating inspiring inspiring needle felting kits since 2014, you’re bound to discover the perfect projects that pique your creative interests.

Final Thoughts
The tutorials and tips I’ve shared in this post are here to guide you. However, just like any other craft or art form, it’s the regular practice and patience that make the biggest difference. There’s no rush and no need to get everything right straight away. Take your time, enjoy the process, and you’ll see steady progress in your work.
Ready To Start? You will love these as well!
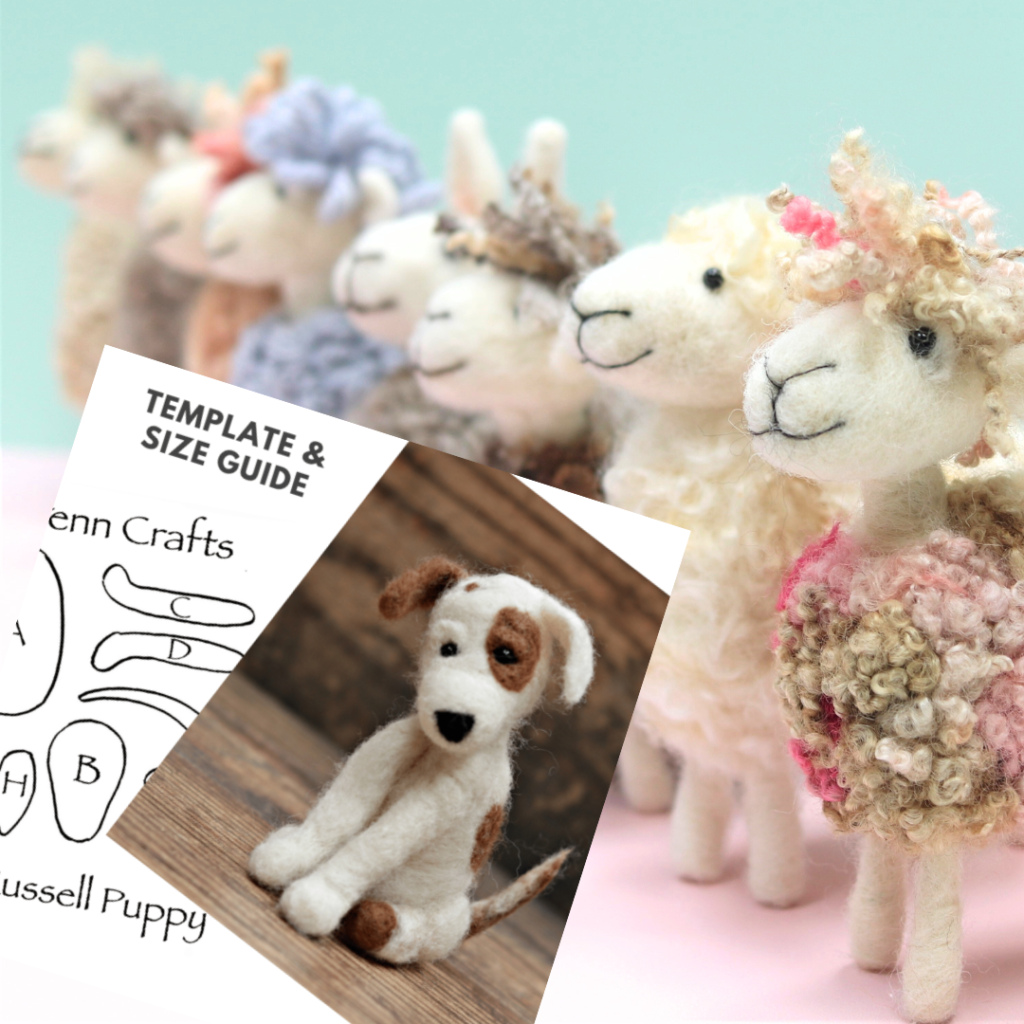
Needle Felting Patterns
Do you love working with patterns? I’ve got over 60 inspiring needle felting patterns ready for instant download, so you can get started right away. Each one is easy to follow, with clear step-by-step instructions to take you from wool to finished piece without the guesswork. Whether you’re making an animal, a decoration, or something just for fun, there’s a pattern for every level. No faff – just pick a pattern, grab your wool, and start felting. Take a look at them here.
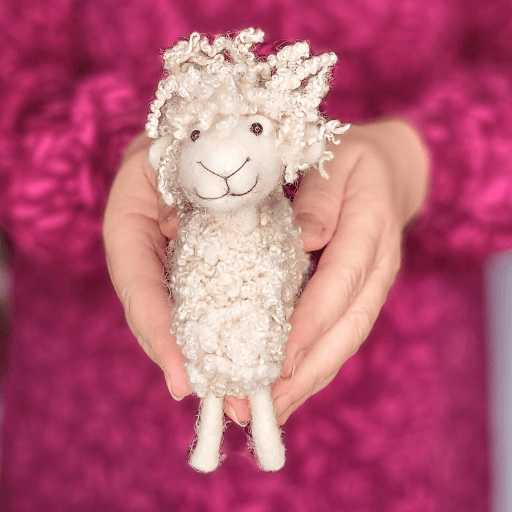
EASIEST EVER NEEDLE FELTED SHEEP VIDEO TUTORIAL!
One of my most popular tutorials. Perfect for beginners and you can felt along with me, workshop style. Step by creative step.


