
It’s that time of year when it is all about new beginnings and colour, lots of colour. I’ve been completely stuck on pretty pastels and all things spring. Think blossom trees, daffodils, and a cuppa in the garden without your woolly hat glued to your head. And honestly, it doesn’t get much more pastel or spring-like than this super simple but utterly lovely Easter garland. All you need to know is how to make needle felted balls.

What’s more, it’s the perfect excuse to use up those scrappy bits of wool top lurking in the corners of your felting box. Let’s face it, if you’ve been felting for longer than five minutes, you’ve probably got more offcuts than you know what to do with.
Are You New To Needle Felting?
If you’re new to needle felting and want to learn how to create simple shapes, this is a brilliant place to start. You’ll learn how to make firm, round felt balls that look professionally finished. And once you’ve got a handful, string them together into a cheery garland. Add a few needle felted bumble bees for extra charm and suddenly your rooms are looking homely, and handmade.

Top Tip For Perfectly Round Balls
This is the gamechanger I’ve been banging on about for years. The humble BBQ skewer. Honestly, I’ve tried a few different ways over the years to make quick simple, even, and firm shapes. This little wooden stick is still the fastest and easiest method to get firm, round balls in just three to four minutes. Who knew? Just don’t felt too close to the skewer itself or your needle could snap. Diagonal felting and constantly rotating the stick is the best technique.
How Long Does It Take?
Good news. This is a quick win project.
- Felt Ball: 3 minutes each
- Bumble Bee: 20-30 minutes
- Garland (9 balls): 30 minutes
- Garland with 2 bees: Around 2 hours
Put the kettle on, line up a few favourite songs or a podcast, or maybe you prefer natures noise, or just a relaxing silence.

What You’ll Need
You don’t need much to get cracking. If you’ve got a felting kit, you’ve probably already got everything on this list.
You will need:
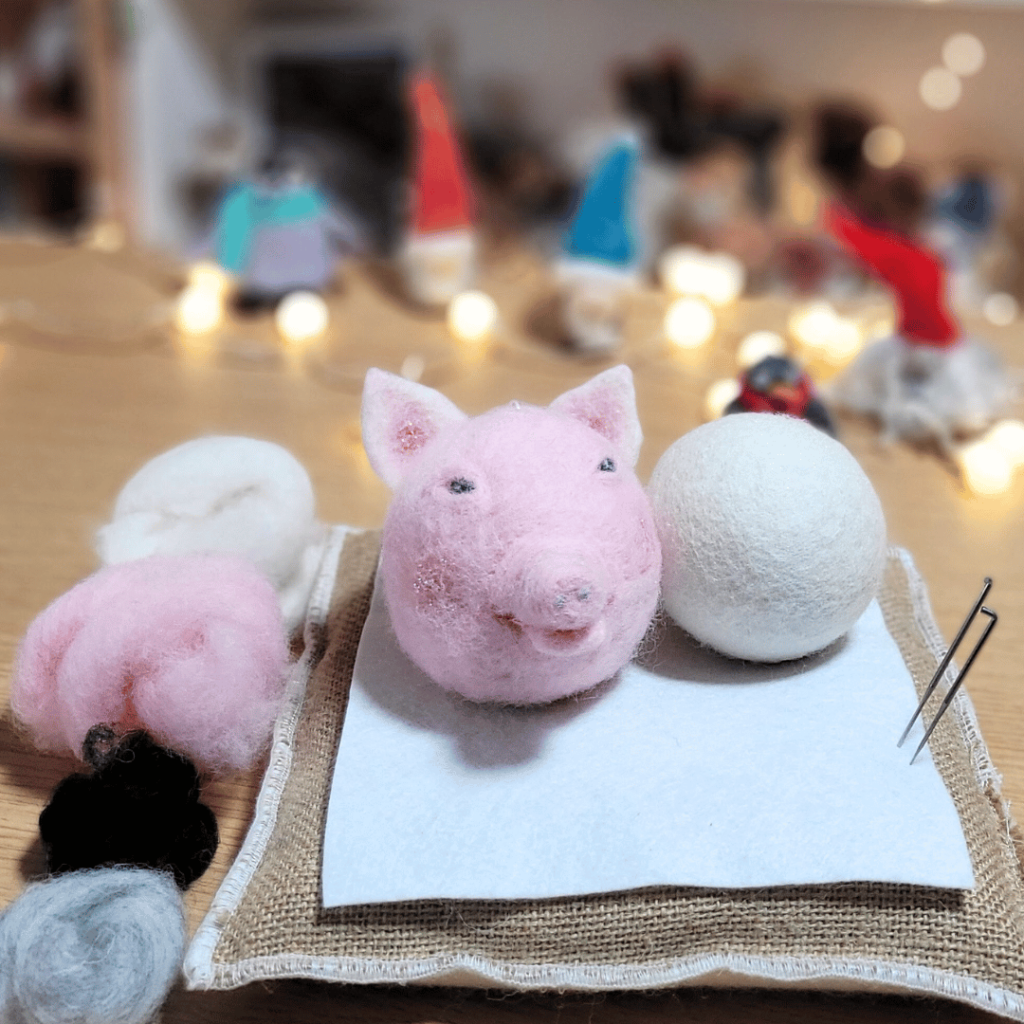
- A small amount of wool top or carded wool, around 1g per ball
- A felting needle, size 36 or 38 is ideal as they’re sturdy enough not to snap on the stick
- A soft felting surface, foam mat, rice-filled hessian bag, wool mat
- A wooden BBQ skewer – AKA felters friend
- Strong thread or twine and a sewing needle, for stringing your garland
Optional:
- Bumble bees for extra cuteness (more on those below)
How To Make Needle Felted Balls
Let’s get down to the nitty-gritty. These felt balls only take about three minutes each, and they’re so easy and satisfying to make.
Step 1: Choose your wool
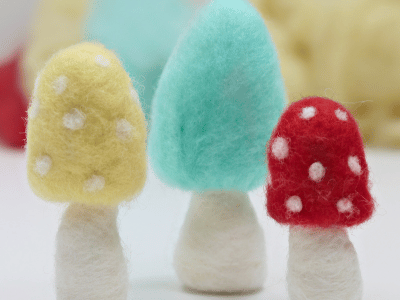
Pick your first colour. This is where you can have a bit of fun. I went for soft spring shades, blush pinks, minty greens, lavender, baby blue, but go with whatever is in your wool box.


2 Twizzle one end of your wool in your fingers to matt it slightly, then wrap it tightly around the pointed end of your BBQ skewer. No need for the felting needle yet, just use your fingers and keep it snug.

Step 3: Keep wrapping
Keep going until you’ve wrapped the whole piece of wool around the stick. Use your thumb and finger to keep it in place so it doesn’t stretch too long down the skewer.

4 Continue to wrap the wool around the stick (no need to use your felting needle yet) and use your thumb and finger to stop it from moving down the stick and becoming too long.

Step 5: Time to felt
Now bring in your felting needle. Start by gently tangling the wool fibres at either end of the ball, using a diagonal stabbing motion. Always keep the needle straight to avoid bending, or breaking. Keep turning the skewer as you felt so the shape stays even all over.


Step 6: Repeat for the other end and continue to shape the entire ball until it is quite firm. It won’t be perfectly round yet but that doesn’t matter.
Step 7: Slide and shape
Once the shape starts to firm up, carefully slide it off the end of the stick. There’ll be a small hole left from the skewer, but don’t worry. Just carry on felting to close it up and refine the shape.

Step 8: Continue to firm and shape with your felting needle. This will also close the hole created by the wooden stick.

Step 9: Roll to finish
To smooth and round off the shape, roll the ball between your cupped hands for a few seconds. The heat and friction will help blend the surface fibres, leaving you with a firm, neat ball that’s ready to go.

How To Make Needle Felt Balls – Video Tutorial
Creating Your Garland
Once you’ve made your felt balls, anywhere between 9 to 15 works nicely for a garland (I like odd numbers) it’s time to string them together.
Thread a strong piece of cotton or embroidery thread onto a needle and push it straight through the centre of each ball. You can space them out evenly or let them bunch up a bit for a more organic feel. It’s entirely up to you.
If you want a nice, clean finish, pop a knot in the thread before and after each ball to keep them spaced out. However, they will stay in place without and I didn’t bother.

Adding Bumble Bees
If you’ve got time and fancy adding a few bumble bees to your garland, they really do lift the whole thing. Their cheerful stripes and tiny wings are so sweet, and they’re another great beginners project, and also quick to make. Alternatively, they make gorgeous spring and summer brooches, or Mother’s Day gifts.

Top tip. When threading your bees, push the needle through the upper part of the bee’s body, not dead centre. They’re a bit top-heavy and if you go through the middle, they’ll hang upside down. Took me longer than I care to admit to work that one out.
Watch The Needle Felted Bumble Bee Tutorial
Mini Spring Bunnies
A great addition to your garland, or as a standalone brooch or decoration are these sweet little bunnies. Easy and fun to make they would also look perfect in a kids bedroom, or as a mobile with a mix of balls, bunnies, and bees. They are definitely one of my most popular projects as the seasons change.

Watch The Needle Felted Bunny Tutorial
Final Thoughts
If you’ve been looking for a beginner-friendly project or just something to brighten up your living room with a splash of spring, this pastel garland is ideal. It’s simple, speedy, and a fab way to make use of your leftover wool stash. Add a few bumble bees and you’ve got yourself a handmade decoration that’ll make you smile every time you see it.
And the best bit? There’s no right or wrong way to do it. Choose your colours, enjoy the process, and let yourself get completely lost in the mindfulness of felting. For more inspiring spring needle felting projects click HERE

Needle Felting Patterns
Do you love working with patterns? You’re in luck. I’ve got over 60 inspiring needle felting patterns ready for instant download, so you can dive straight in and start felting today. Each one is designed to be easy to follow, with step-by-step instructions that take you from fluffy wool to a finished creation without the guesswork. Whether you’re making a cute little critter, a charming decoration, or something totally unique, there’s a pattern to suit every skill level. No faffing about, just grab a pattern, your wool, and get felting. Take a look here.


Adorable! ?
So cute and adorable for Easter season! ??