Skip to content
Facebook
Instagram
YouTube
Pinterest
TikTok
Search
Beginners Start Here
Categories
Expand
Needle Felting Beginners
Easy Projects
Quick And Easy Needle Felting Projects
Needle Felted Animals
Challenging Needle felting Projects
Needle Felted Pictures
Needle Felted Plants And Flowers
Seasonal Needle Felting Projects
Expand
Autumn And Fall Needle Felting Ideas
Christmas Needle Felting Projects
Spring & Easter Projects
Needle Felting Spring And Summer Projects
Boost Your Confidence
Expand
How To Start Needle Felting With Confidence
Needle Felters! Have You Lost Your Craft Mojo?
Crafts As Therapy – Finding Calm Through Creativity
Small Handmade Business Guide
Easy Needle Felting Techniques
Needle Felting Tools And Accessories
Top Tips
Wool & Felting Needle Guide
Shop Patterns
Small Business Advice
Spring And Summer Inspiration
Toggle Menu
Search
Challenging Needle felting Projects
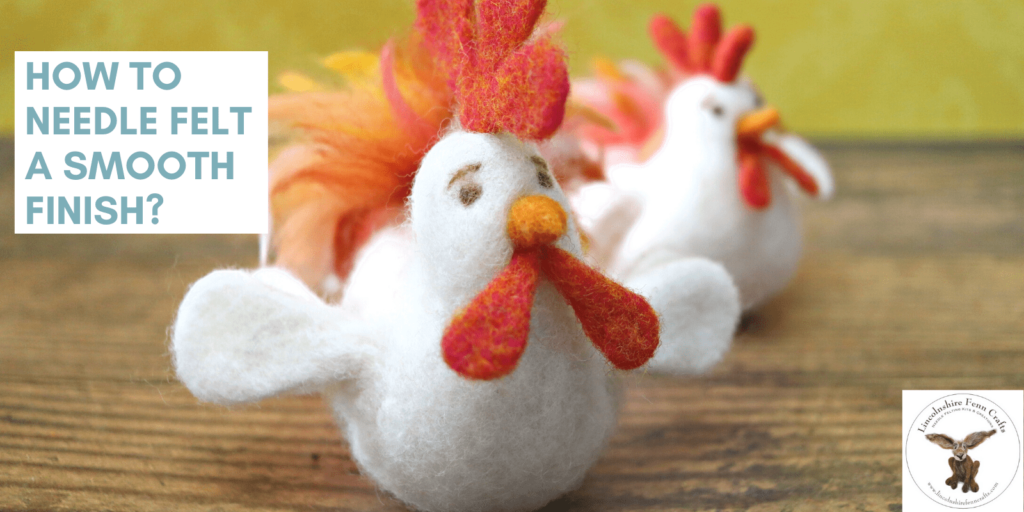
How To Needle Felt Animals – Needle Felted Chicken
How To Needle Felt A Highland Cow
How to needle felt realistic animal eyes in 8 easy steps
How To Make A Needle Felted Pig
Realistic needle felted eyes in 8 easy steps
Scroll to top
Scroll to top
Beginners Start Here
Categories
Toggle child menu
Expand
Needle Felting Beginners
Easy Projects
Quick And Easy Needle Felting Projects
Needle Felted Animals
Challenging Needle felting Projects
Needle Felted Pictures
Needle Felted Plants And Flowers
Seasonal Needle Felting Projects
Toggle child menu
Expand
Autumn And Fall Needle Felting Ideas
Christmas Needle Felting Projects
Spring & Easter Projects
Needle Felting Spring And Summer Projects
Boost Your Confidence
Toggle child menu
Expand
How To Start Needle Felting With Confidence
Needle Felters! Have You Lost Your Craft Mojo?
Crafts As Therapy – Finding Calm Through Creativity
Small Handmade Business Guide
Easy Needle Felting Techniques
Needle Felting Tools And Accessories
Top Tips
Wool & Felting Needle Guide
Shop Patterns
Small Business Advice
Spring And Summer Inspiration
Toggle Menu Close
Search for:
Search