HOW TO NEEDLE FELT FOR BEGINNERS – DOS AND DON’TS
Getting Started Needle Felting
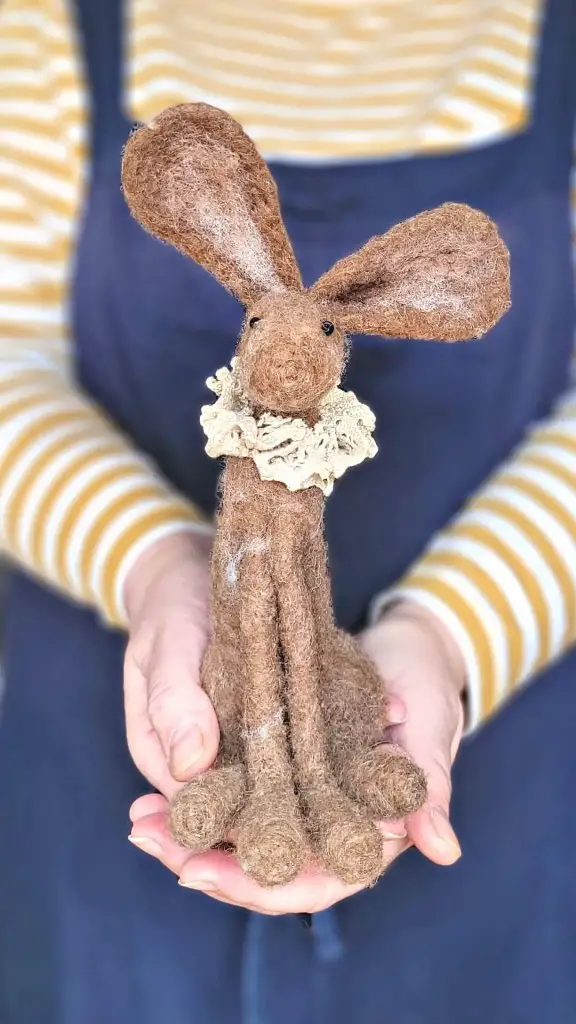
Needle felting is an incredibly addictive and beginner-friendly craft that’s perfect for anyone wanting to explore their creativity. My how to needle felt for beginners article shows just how easy it is to learn. Requirng minimal tools, it is also one of the most eco-friendly crafts you can try. Whether you’re making seasonal felted decorations, personal handmade gifts, or just want a mindful hobby to help you unwind, needle felting ticks all the boxes. In this beginner’s guide, I’ll walk you through the essential needle felting dos and don’ts, helping you avoid common mistakes and build confidence from the get-go. If you’re just starting out, this is the best place to begin your needle felting journey.

How To Needle Felt For Beginners
This simple and informative do’s and don’ts guide will have you needle felting in no time. I provide essential tips and advice to kick-start your journey, and go beyond, in this wonderful craft.
Here are a few pointers from the guide:
What is Needle Felting?
Needle felting is a process where you use special barbed needles to repeatedly and carefully stab into wool fleece. This action tangles the fibres together until the wool becomes firm. By following specific instructions, you can shape this wool into your own unique needle felted sculpture.
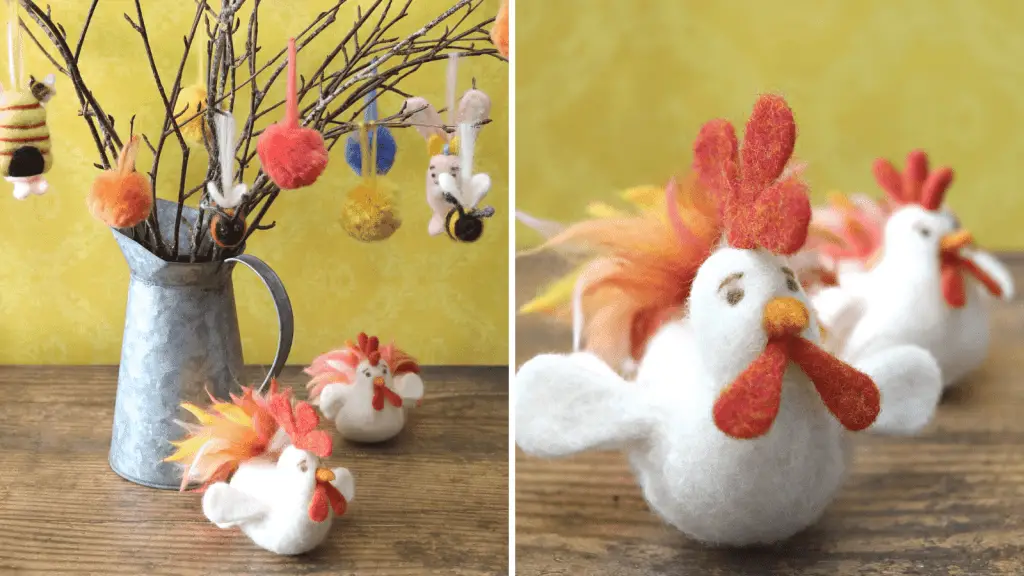
Before you begin your sculpture, it’s essential to grasp a few basic concepts about needle felting. However, it’s just as important to remember that you are in the creative driving seat. Feel free to experiment and make changes as you see fit. Personalising your project is all part of the fun and creativity of needle felting.
Don’t Overwhelm Yourself When Getting Started
- When you’re starting out with needle felting, it’s a good idea to begin with smaller projects. This way, you can build your confidence and improve your skills gradually.
- Make sure you use the right needle felting wool and tools; they really make a difference to both your crafting experience and the look of your finished items.
- It’s also smart to keep your crafting area tidy and your tools close at hand to make everything more efficient.
- Remember, there’s no need to rush through your projects. Taking your time can actually lead to much better results.
- If you make mistakes, don’t worry about it too much—they’re just part of the learning process and they’ll help you get better.
- Finally, make sure you’re using the right felting needle for the job. It might seem like a small thing, but it can really impact how your project turns out. By keeping these tips in mind, you’ll find that needle felting becomes a more enjoyable and successful hobby. So, let’s get set to begin your needle felting adventure and I know, just like me, you will find yourself completely in love with this wonderful craft!
Needle Felting Terminology
Before starting, it’s important to get familiar with the basic tools and terms. Don’t worry, there aren’t too many you need to know when just starting, but understanding things like the different types of wool, needle sizes, and tools will help you work more easily and avoid mistakes. You can find my short list of needle felting terminology in this easy guide.
Best Advice for Complete Beginners
Before you dive into needle felting, it’s important to remember that making mistakes isn’t a bad thing, even though it often feels that way. Allow yourself to be a beginner and start on chapter 1, not chapter 5. Actually, getting things wrong is a crucial part of learning. Every mistake is a lesson that helps us get better and build our needle felting confidence. Trust me, I’ve made plenty of mistakes myself, and each one has taught me something valuable. So, as you start your felting journey, embrace those little slip-ups and errors—they’re just stepping stones on your path to becoming great at this craft! Remember, no one starts out perfect, and every needle felter has had their share of oops moments.
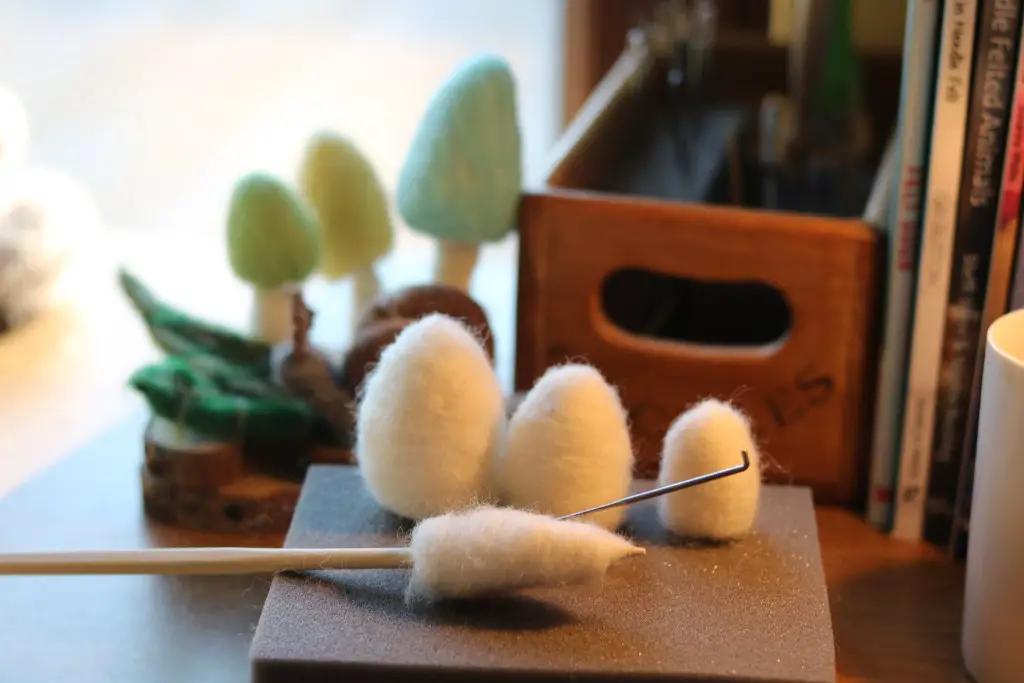
These are basic shapes for super easy needle felted toadstools.
How To Needle Felt Animals
Whether you’re picking up a felting needle for the first time or just want to improve your animal-making skills, Needle Felting Made Easy: How to Needle Felt Animals is a solid place to start. It’s clear, practical, and designed to help you learn at your own pace.
Felting Needle Safety
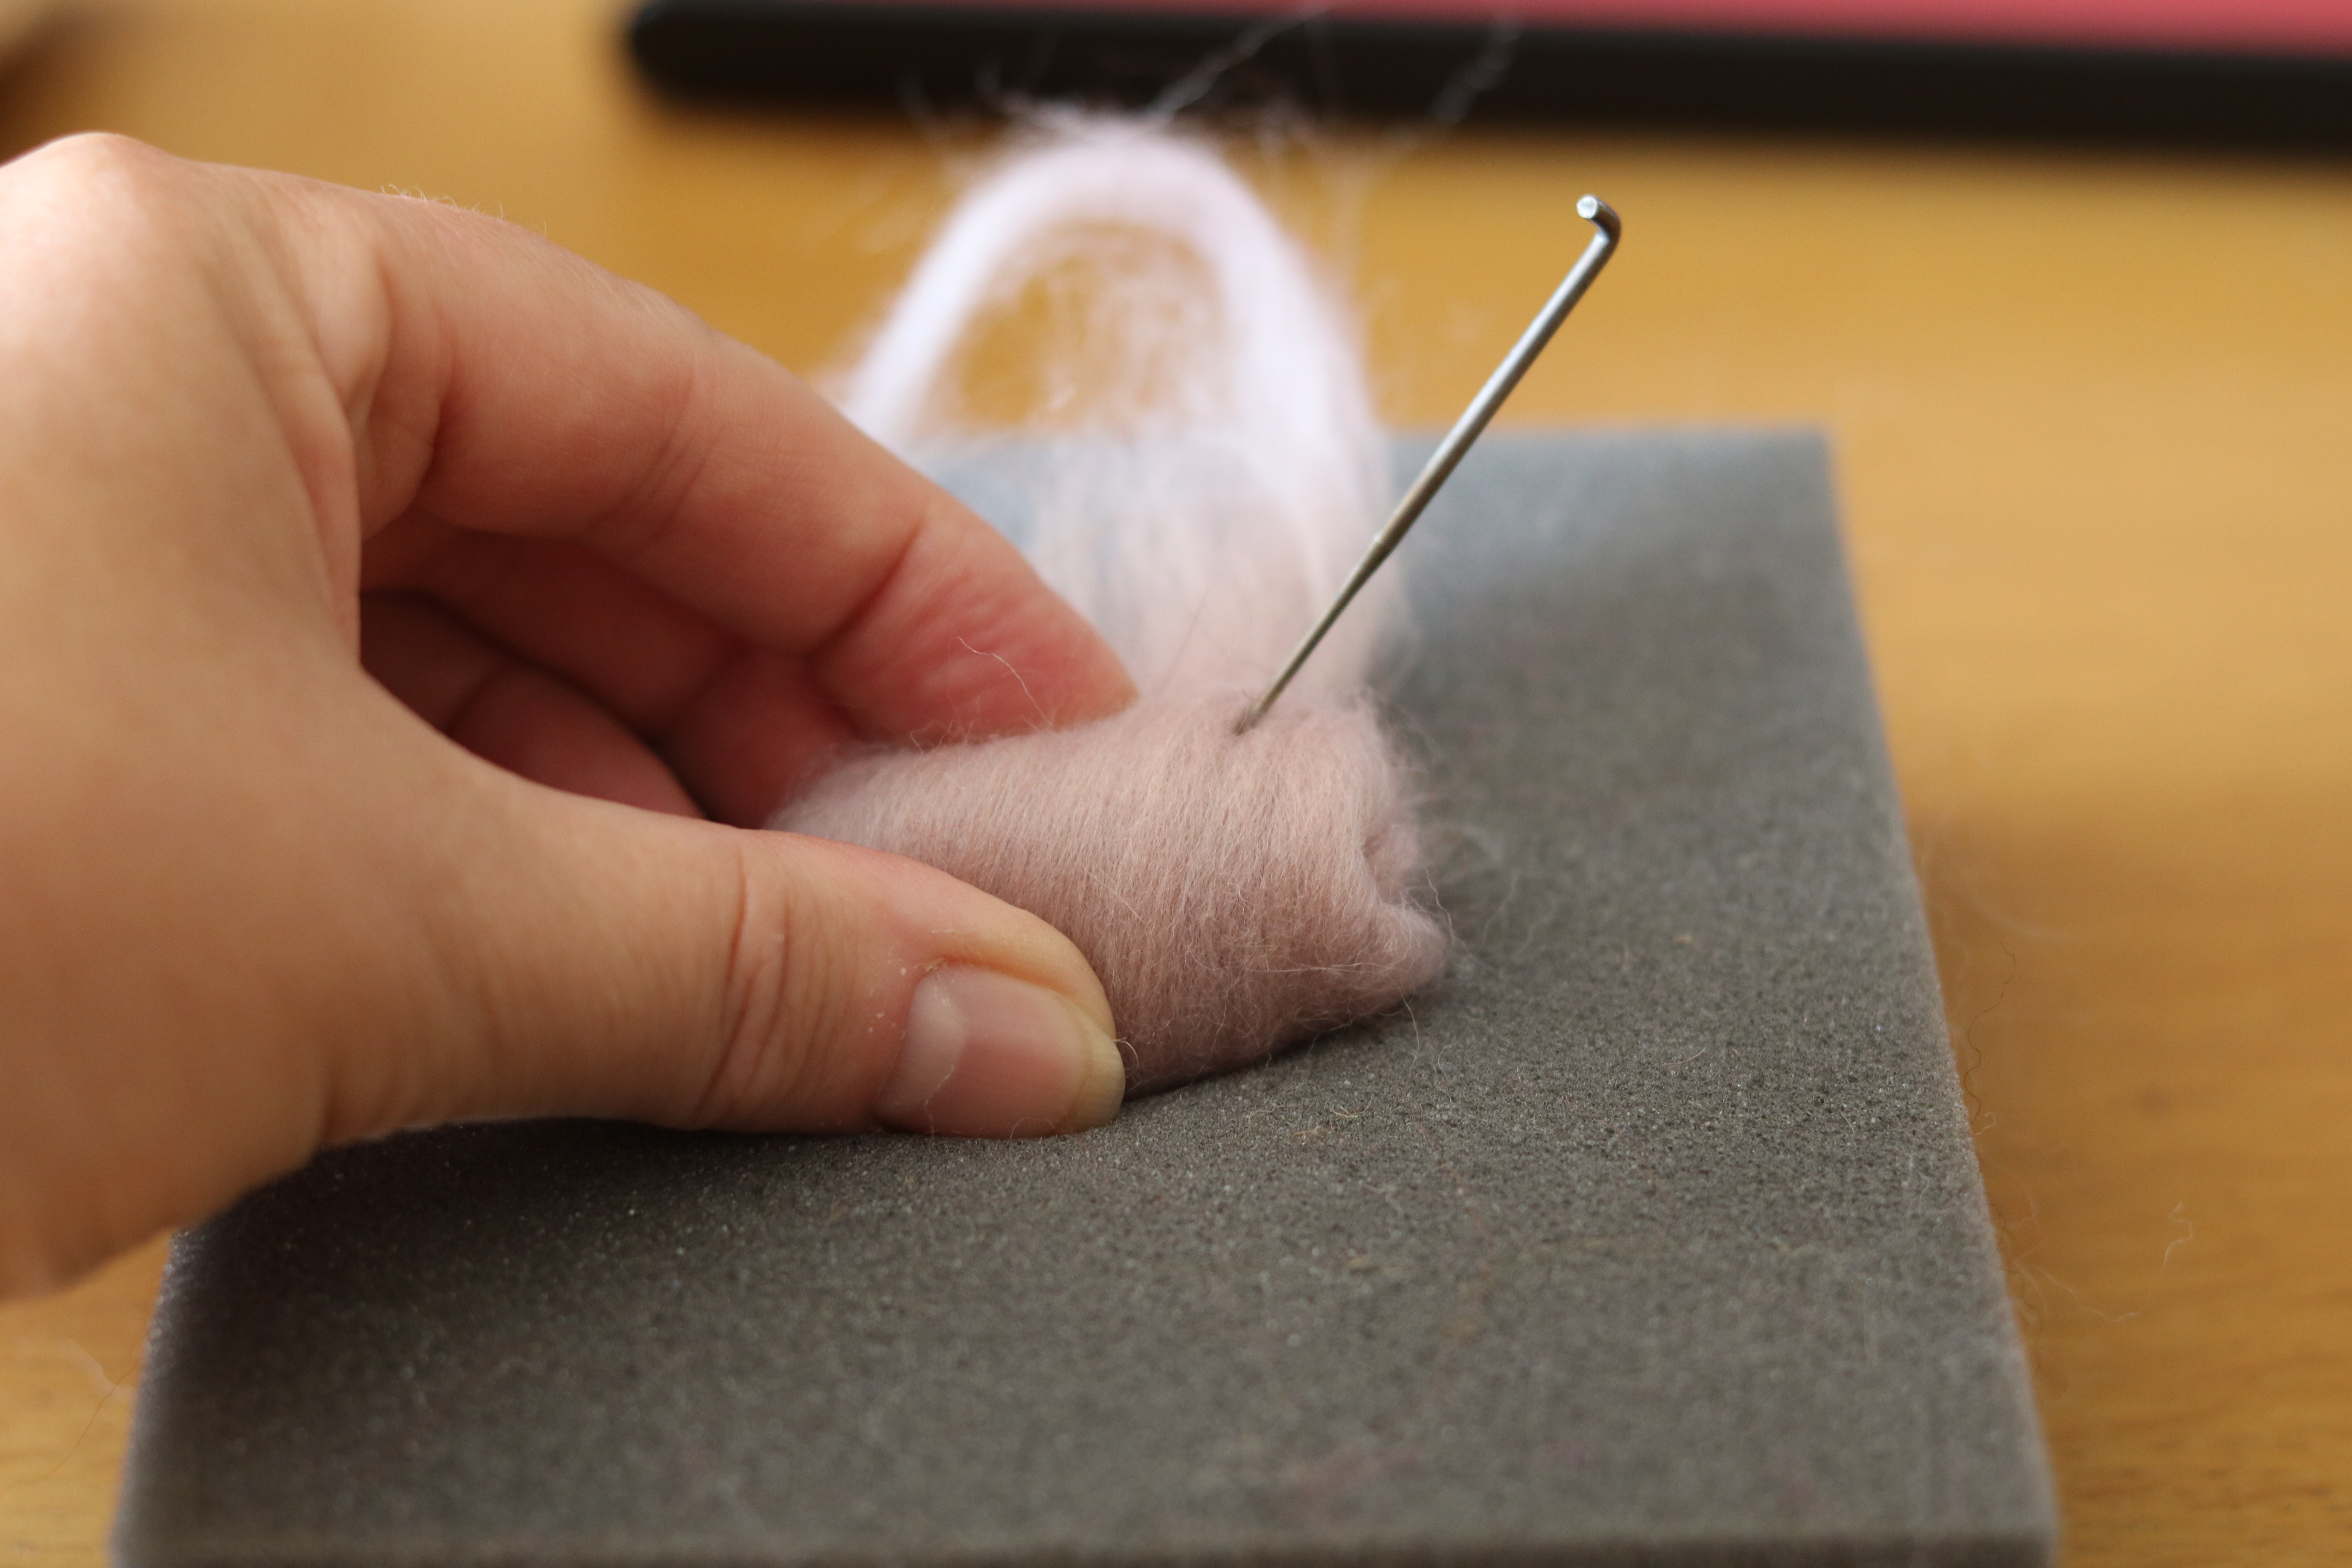
It’s really important to be careful with your fingers when you’re working on your needle felting project. As you hold and turn your creation, there’s a higher risk of accidentally stabbing your finger with the needle because it can easily poke through the wool. Always try to use a foam pad to help protect your fingers.
Also, remember to always push your needle straight in and out of the wool, no matter what angle you’re working from. This helps prevent the needle from breaking.
The final piece you create will be totally unique to you, so let your imagination run wild! Be patient with the process because these wonderful creations deserve the time they take to craft, and you’ll find yourself getting the hang of needle felting very quickly. Once you finish your first project, you’ll feel unstoppable! When you’ve completed your project, take a moment to sit back, admire your work, and proudly tell your friends and family, “I made that!”
Getting Started Video Tutorial
Before we get into my super easy, 14 step guide to needle felting, here are a couple of easy mini tutorials.
Start With Simple Shapes
When you’re just beginning with needle felting, starting with simple shapes is an excellent strategy before tackling your main project. This step will help you become familiar with the feel of the wool and the techniques involved in using a felting needle. It’s a particularly effective way to boost your confidence, especially if it’s your first time creating anything crafty. A useful tip is to always begin with less wool than you think you might need. It’s much easier to add extra wool as you go rather than trying to remove it once the felting process has started.
To support your learning journey, I offer a wide range of tutorials and video guides that cover all the basics. The mini-tutorials below are specifically designed to help beginners understand the fundamental techniques of needle felting. They will guide you step-by-step as you learn to create various needle felted items, from animals to botanicals and abstract shapes. Starting with these simpler projects is vital as it establishes a strong foundation for all your future needle felting endeavors, preparing you to tackle more complex and detailed projects as you grow more skilled. This initial phase is crucial, not just for mastering the techniques, but for exploring the creative possibilities that needle felting offers.
How to Needle Felt a Simple Shape
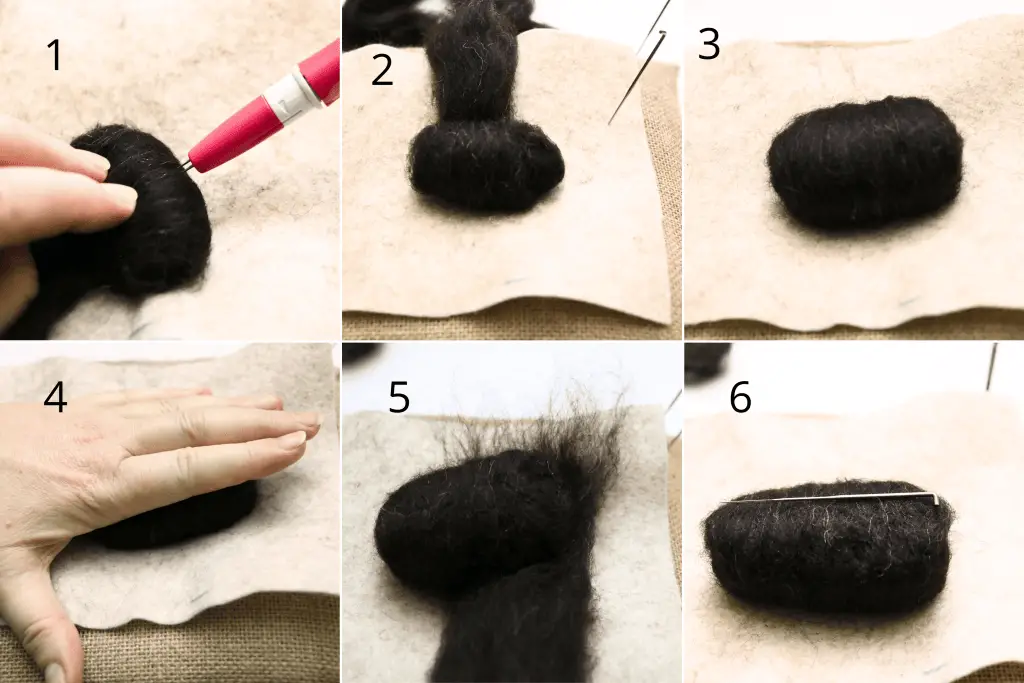
- Begin by rolling your wool very tightly into a rough oval shape. Make sure to tuck the ends in as you roll.
- Keep rolling until you are about halfway through. Ensure that the wool is still compact and continue tucking in any loose ends as you go. Helpful hint: If the roll loosens, unroll it and start over to maintain tightness.
- Once halfway, pause to check if you’re satisfied with the shape and how firm it is.
- Helpful hint: A good test for firmness is to give it a squeeze; it should be able to bounce back into its original shape.
- Continue shaping by adding more wool to the structure. Keep felting and shaping until it achieves the size you want.
- Check you have the shape you want. Helpful hint: Use a roughly drawn template as your size and shape guide
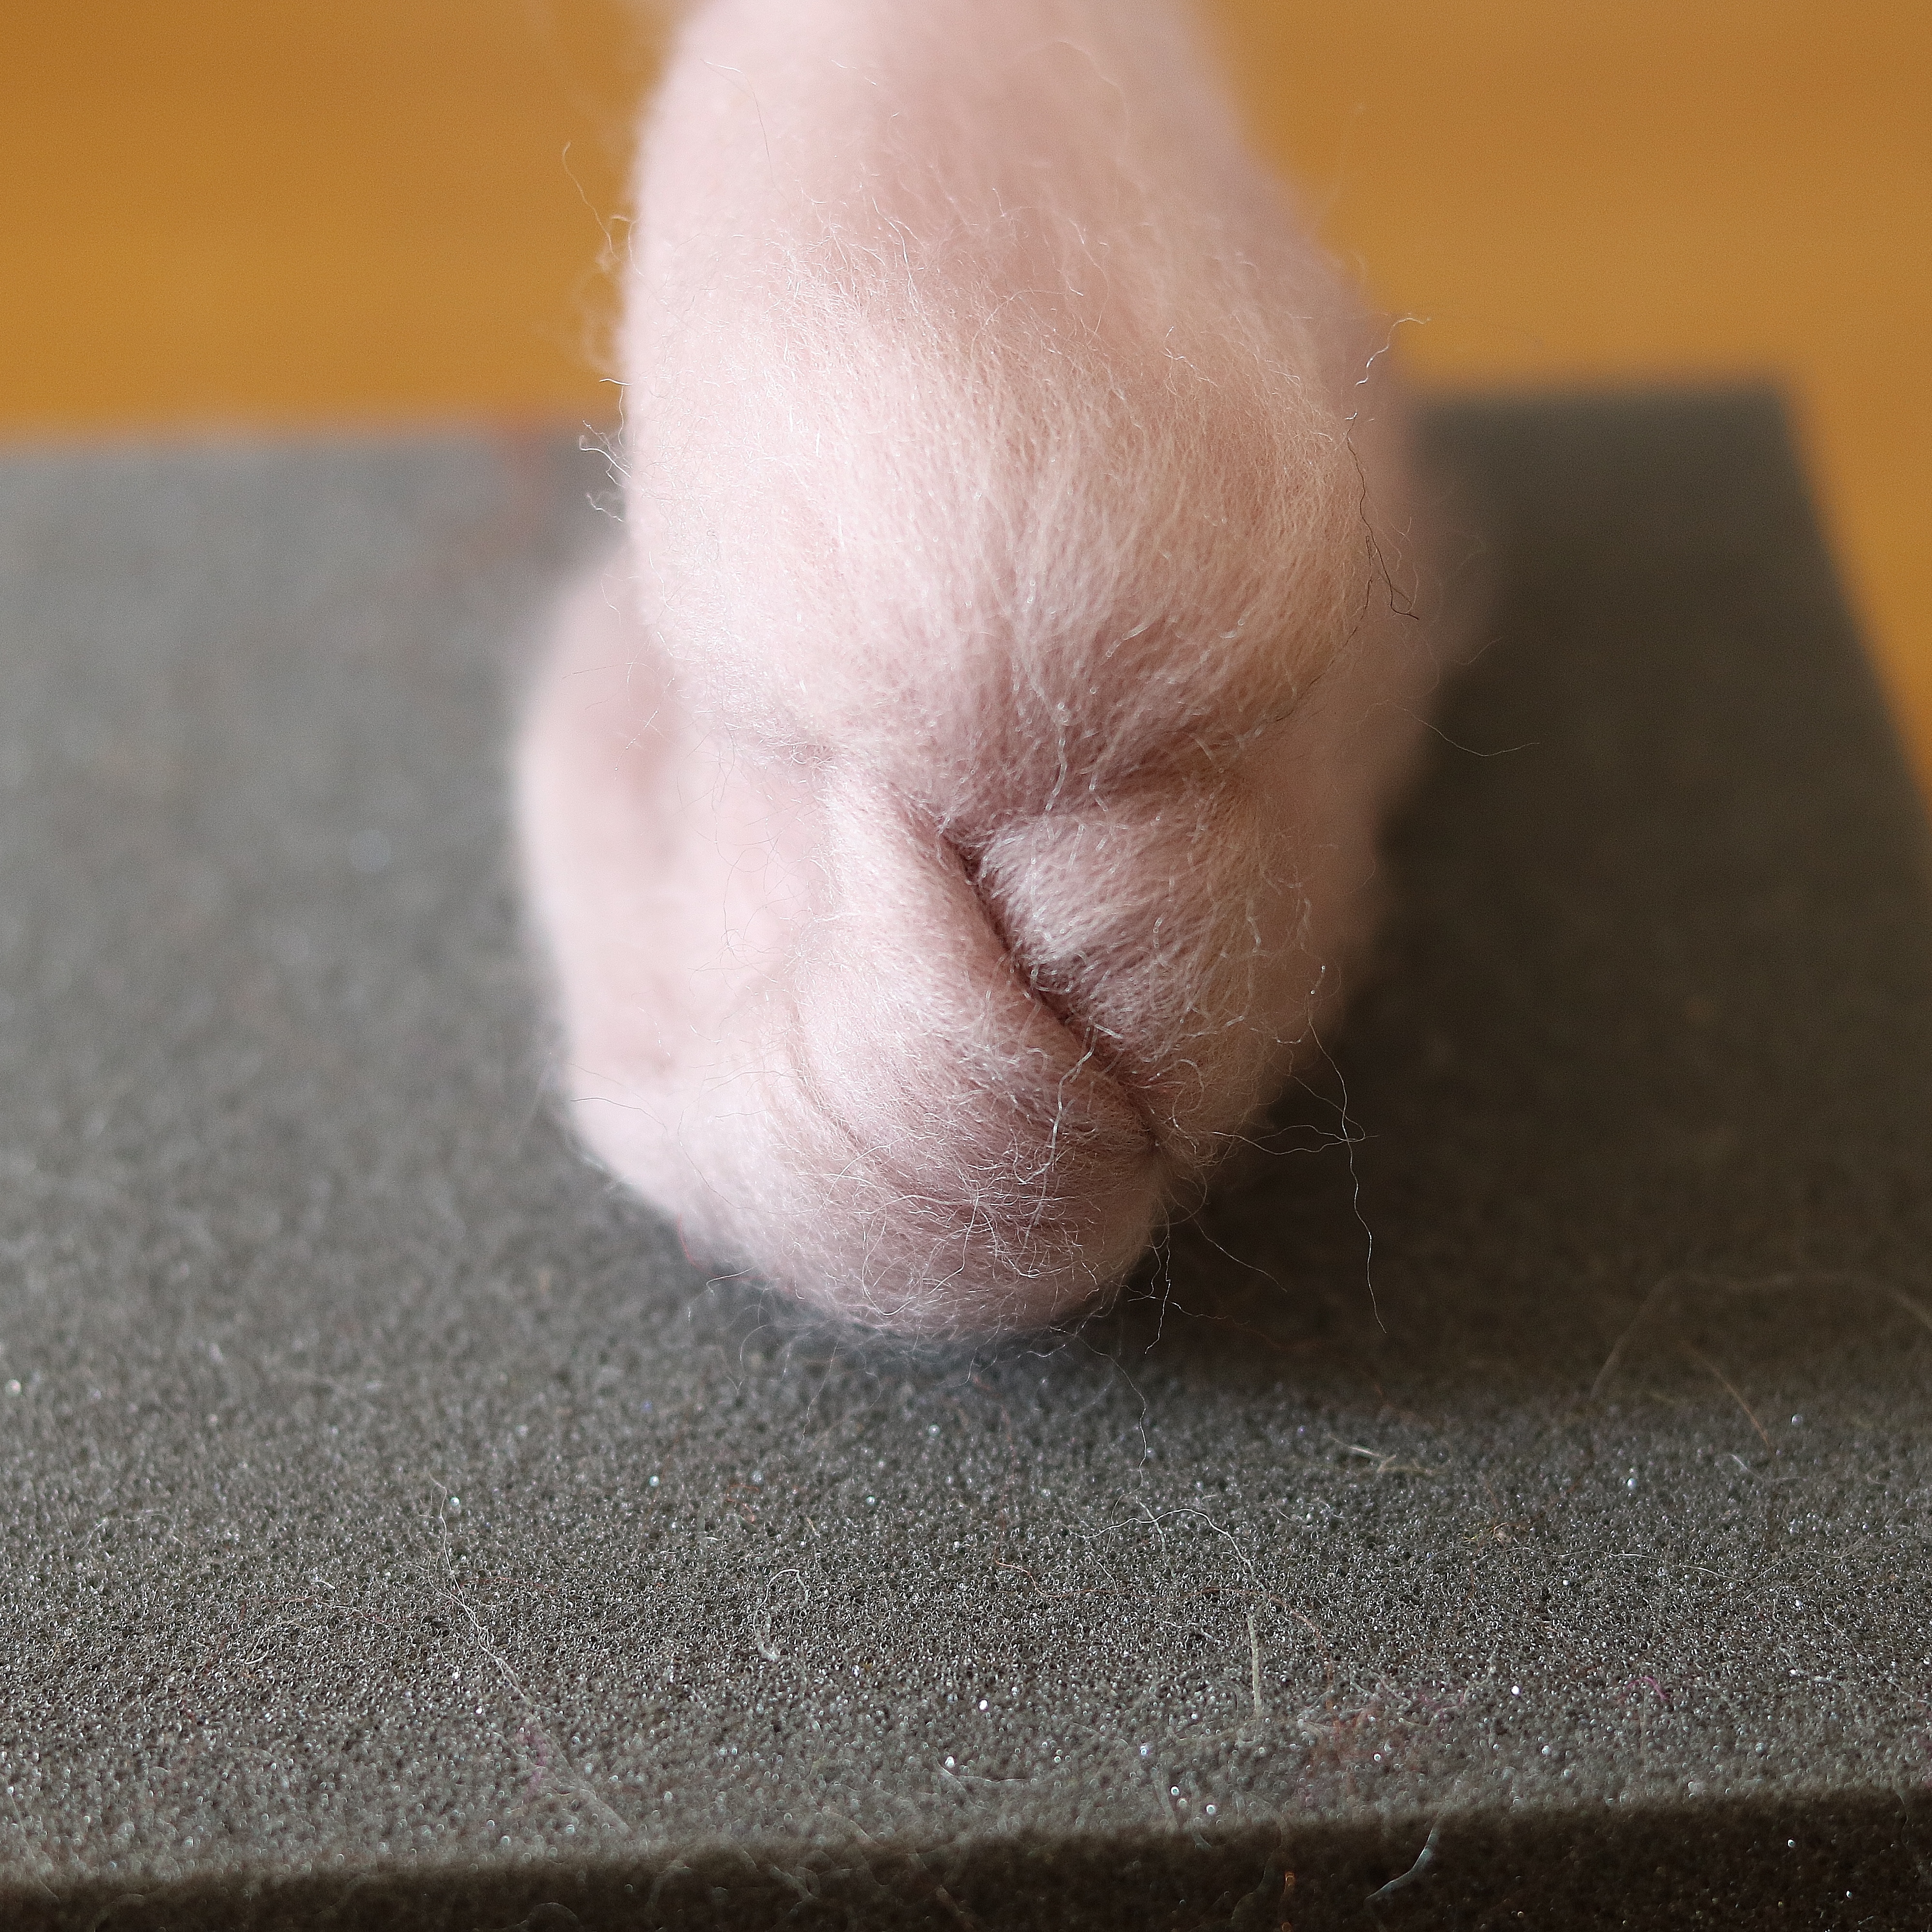
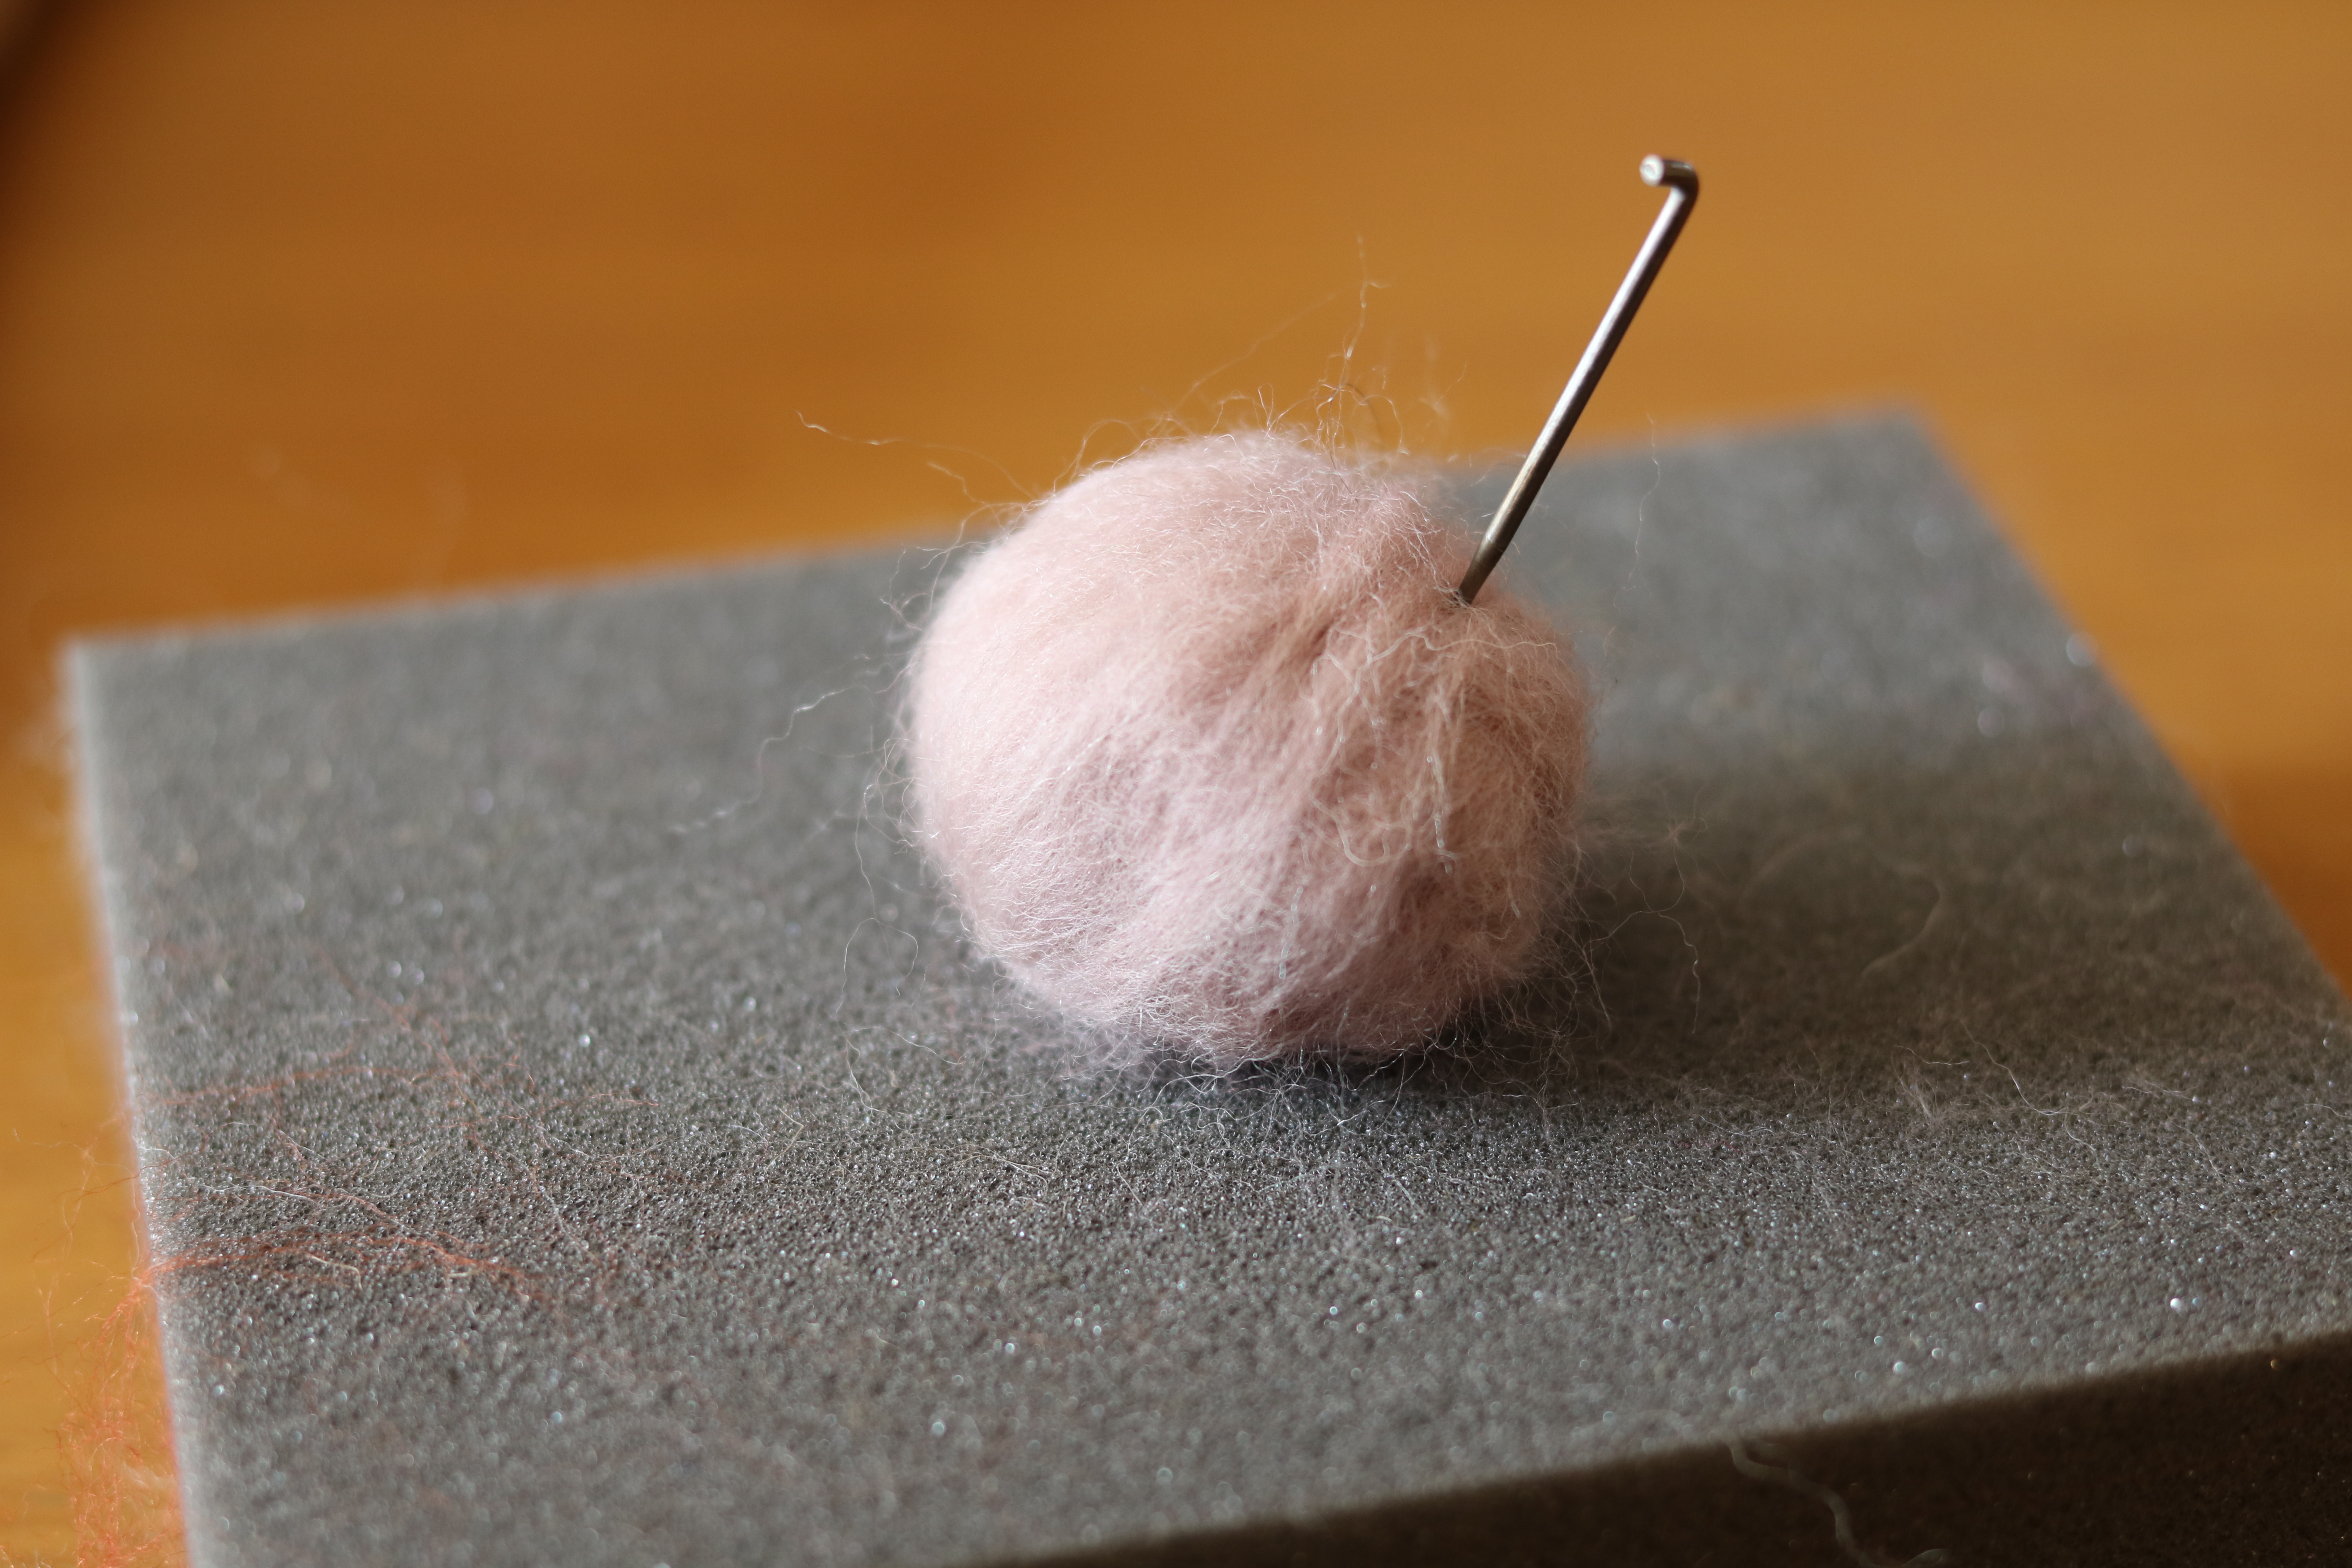
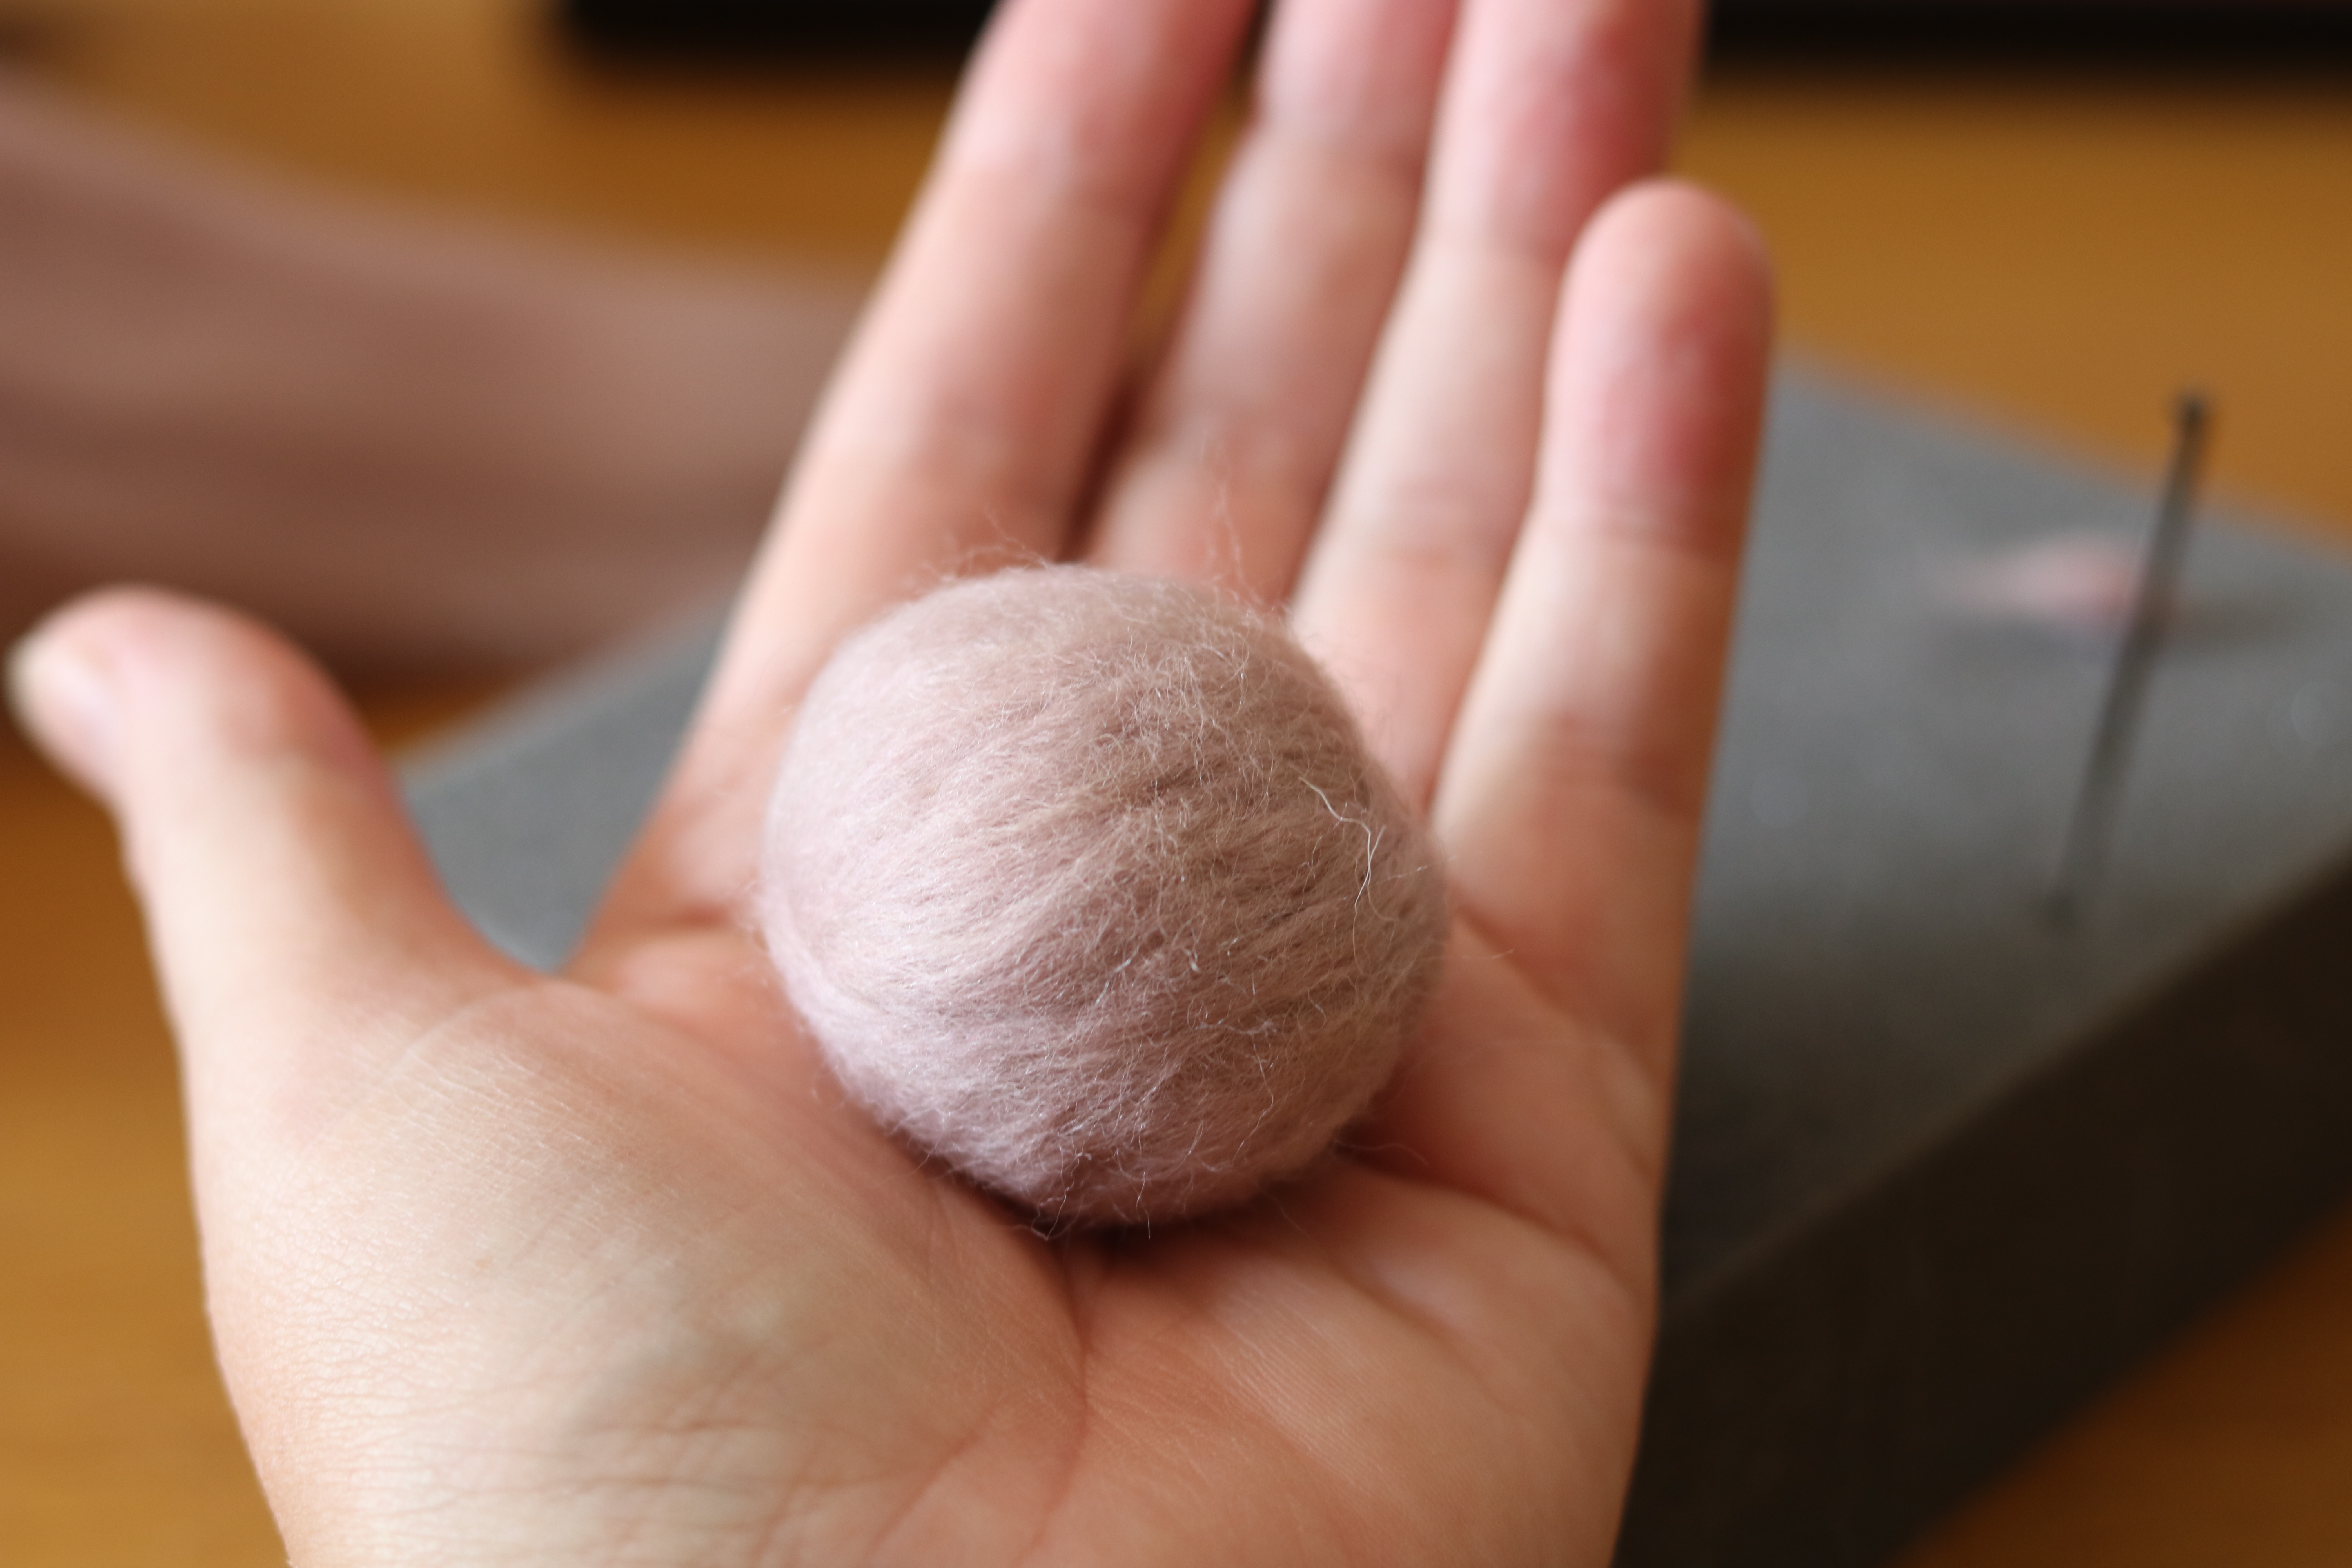
How to Needle Felt a Ball
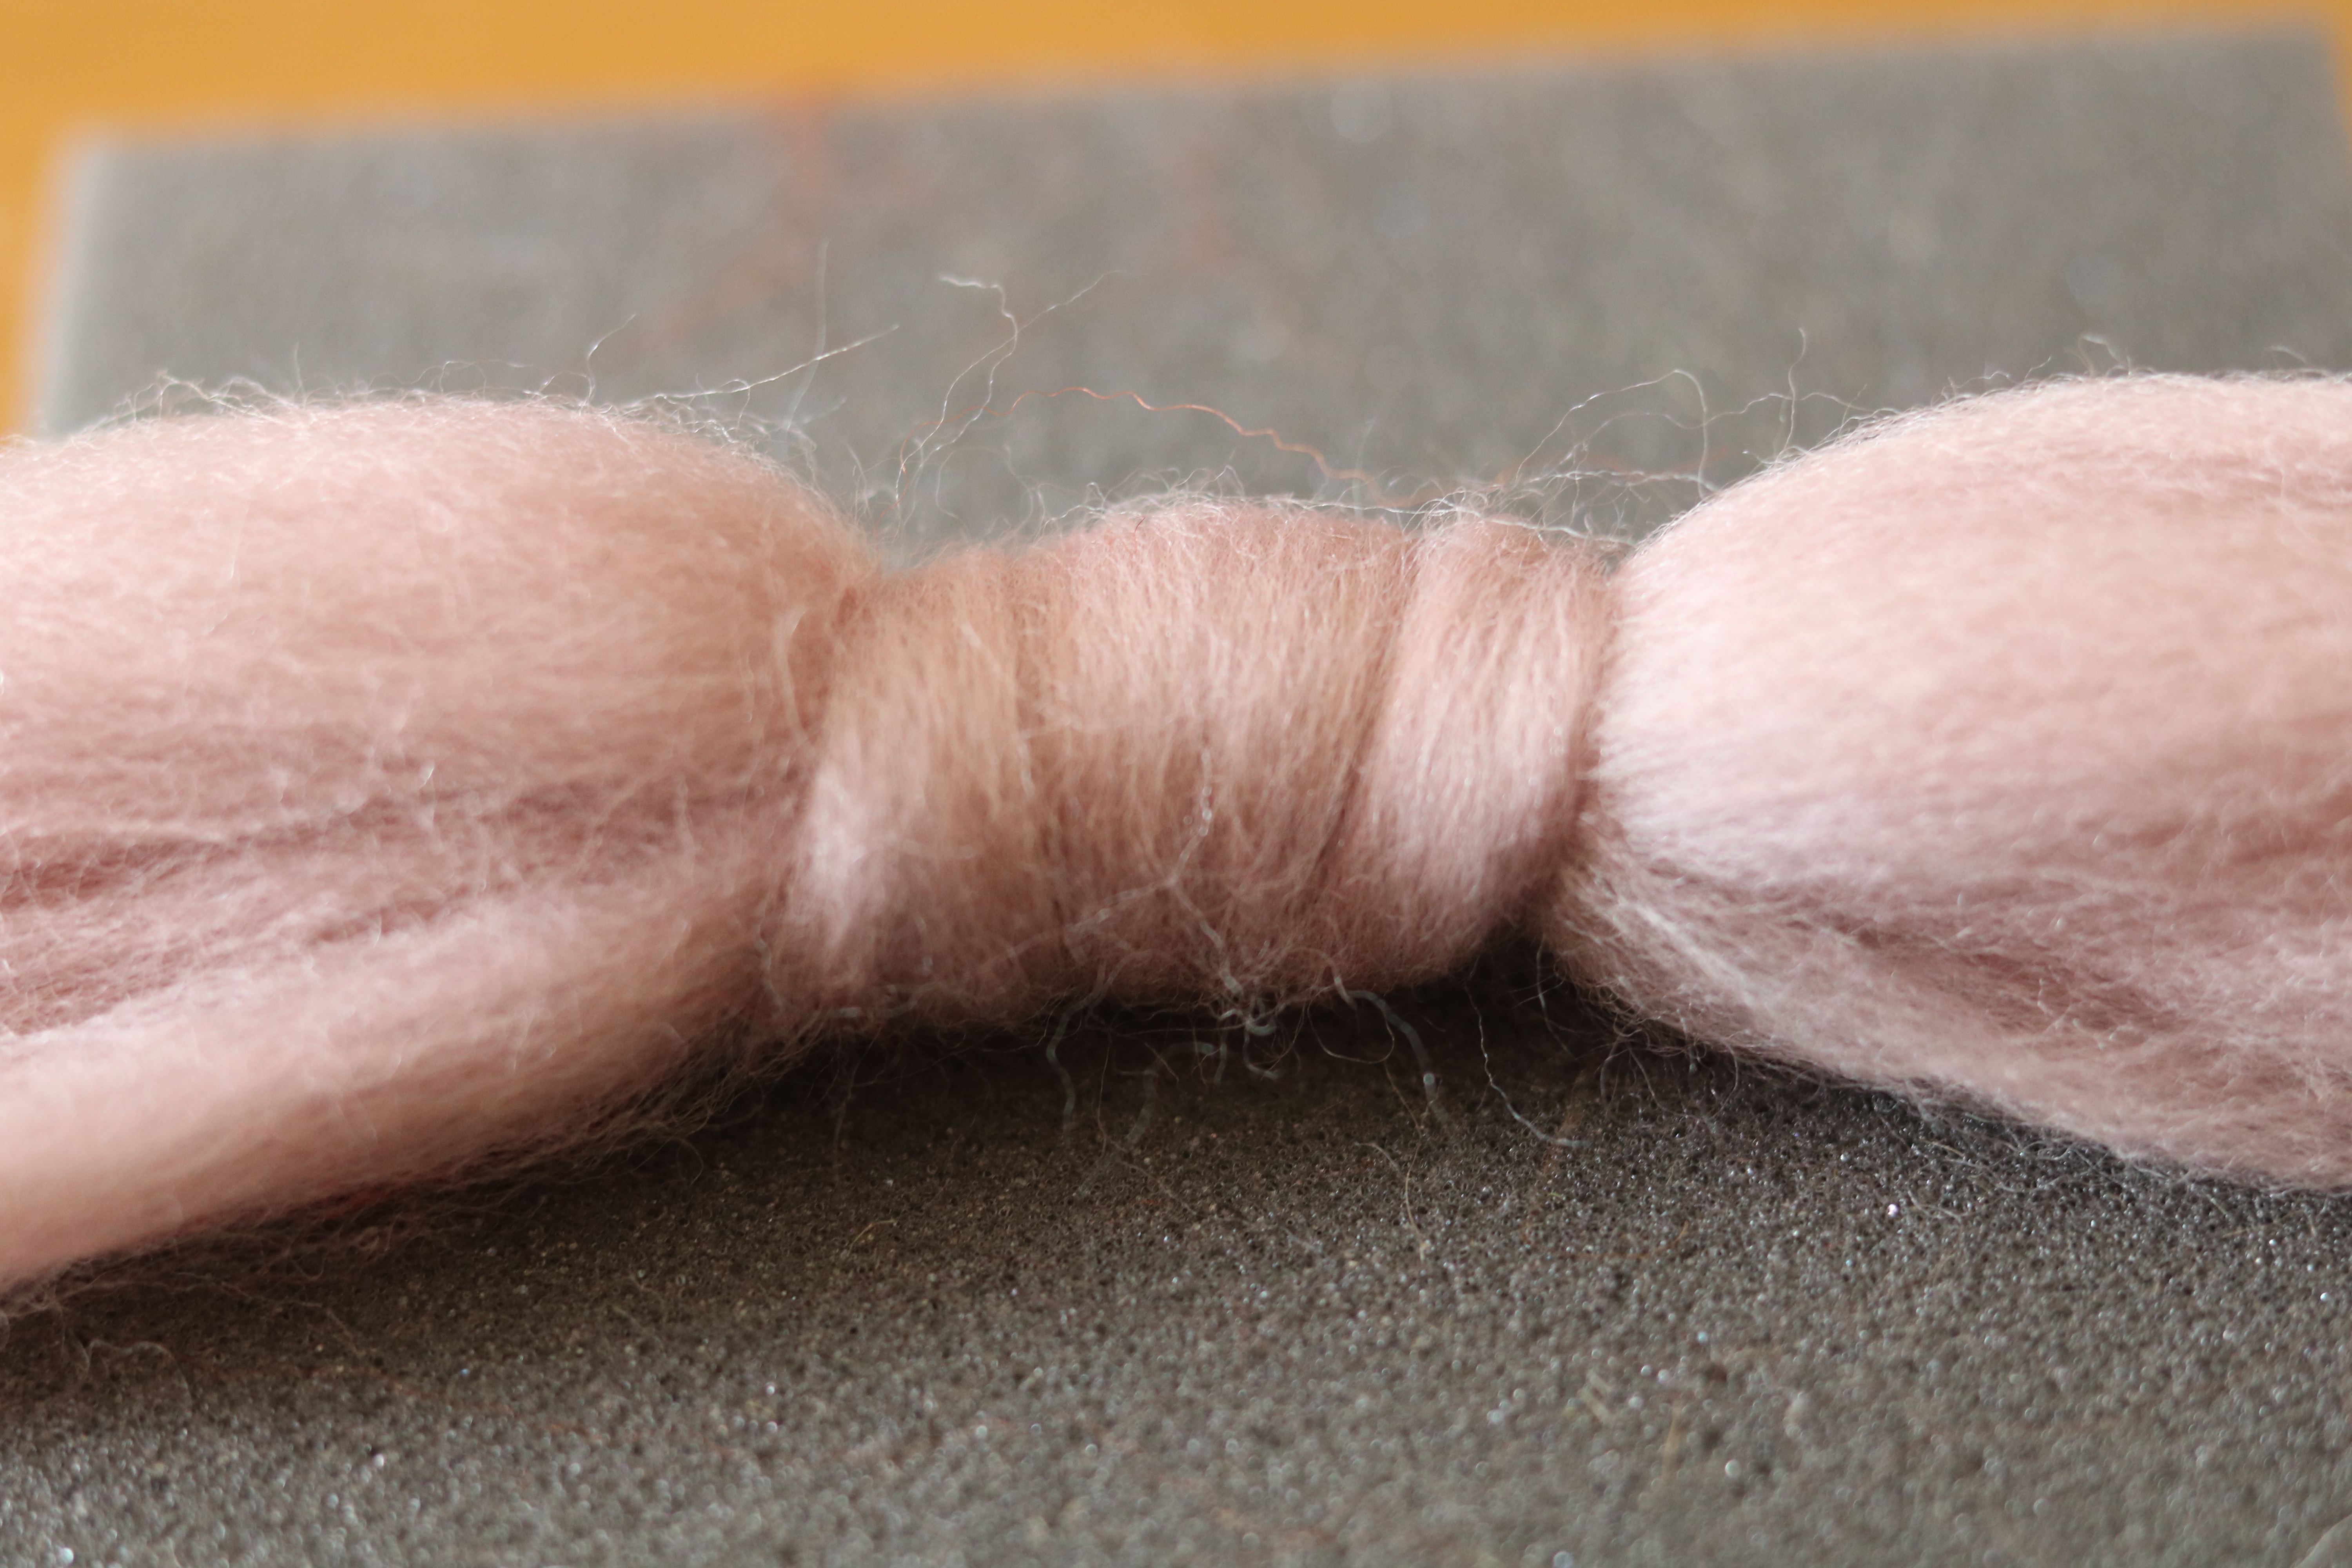
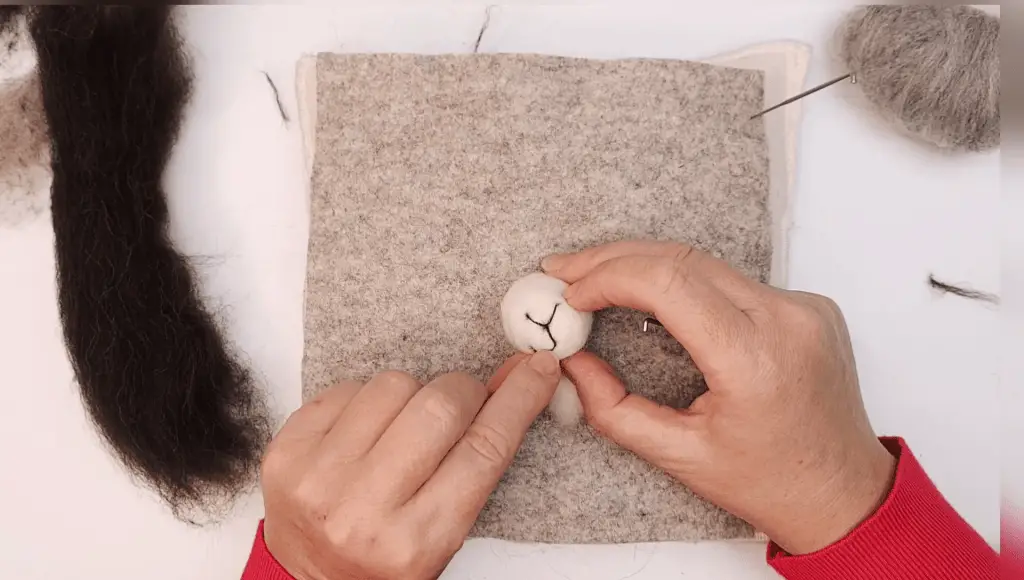
TOP TIP! Tie a knot or two in the centre to create a firm core will save a lot of felting time and makes it easier to create a ball shape; click on picture for instructions.
How To Needle Felt Animals For Beginners
Not sure where to begin with needle felting animals? Needle Felting Made Easy: How to Needle Felt Animals gives you a clear path forward. It’s packed with no-nonsense tips, helpful techniques, and guidance that’s easy to follow – ideal if you want to start strong and avoid guesswork.
Your quick-read guide to getting it right first time
Whether you’re just starting out or brushing up your skills, these beginner-friendly needle felting tips will save you time, needles, and a whole lot of faff.
1 Take breaks when you need to
Step away and come back with fresh eyes. If you’re feeling uninspired, have a scroll online and see what styles catch your eye.
2 Keep it firm (but not rock hard)
Firm shapes are the foundation of great 3D needle felting. Think squashable but springy, especially for heads and legs.
3 Roll tight before you felt
Tightly roll your wool before you even touch your needle. It’ll save you loads of time and give you a head start on a neat shape.
4 Use Short, sharp stabs only
Use small, controlled stabbing motions. Your needle should barely touch the foam, especially when working in 3D. No disappearing acts.
5 Keep turning as you felt
Rotate your shape as you go. This helps keep the shape even and prevents flat spots.
6 Start with less than you think you need
When it comes to needle felting, less is always more. It’s easy to start with too much, but you can’t take it away once it’s felted.
Top tip: If a leg or head is in the wrong place, unpick it with a pin. Never use your felting needle unless you fancy crawling around trying to find the broken tip.
7 Your project will get smaller
Wool shrinks about 30% once fully felted. Go too far and you’ll end up with a rock-solid marble.
8 Using your felting needle
Always stab straight in and out. If you go in at an angle, the tip of your needle will snap.
9 Be Patient
Take your time. Needle felting is meant to be relaxing. You’re learning a skill, not rushing through a checklist.
10 Work through the ugly phase
Most projects look rough until you’re about three-quarters through. Keep going. The final details always pull it together.
11 WHAT TO DO WHEN IT DOESN’T LOOK LIKE YOU IMAGINED?
Sometimes, even when you finish your project, it might not look exactly like what you had in mind. That’s okay—don’t let it ruin your day. Whatever you create is uniquely yours and that’s what makes it special! Those quirky ears or the odd-looking leg? They just add character. Embrace these features and remember all the new skills you’ve learned for your next project. By the way, every needle felter has a collection of fuzzy ‘Frankenstein’ parts waiting to be used in another project. I like to call them “limbs in limbo”…
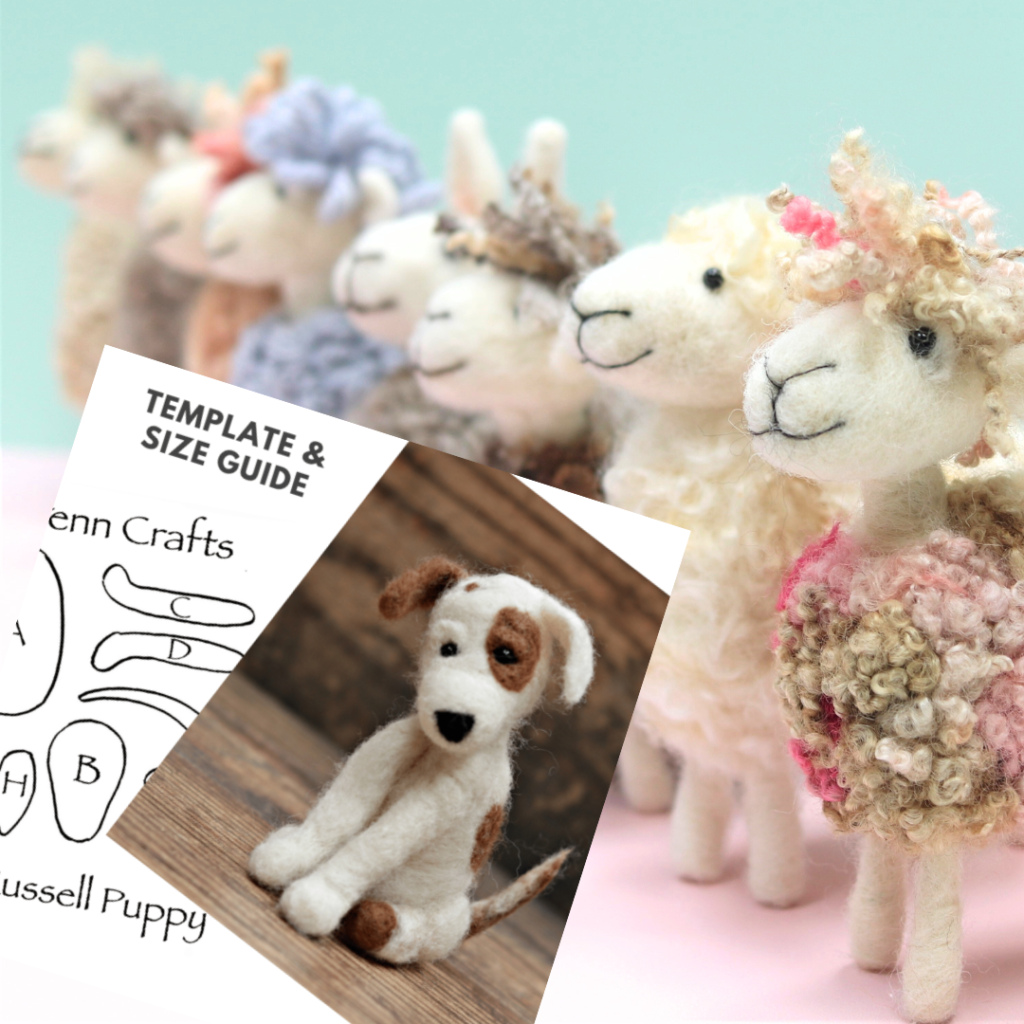
12 Are You Looking For A Needle Felting Pattern?
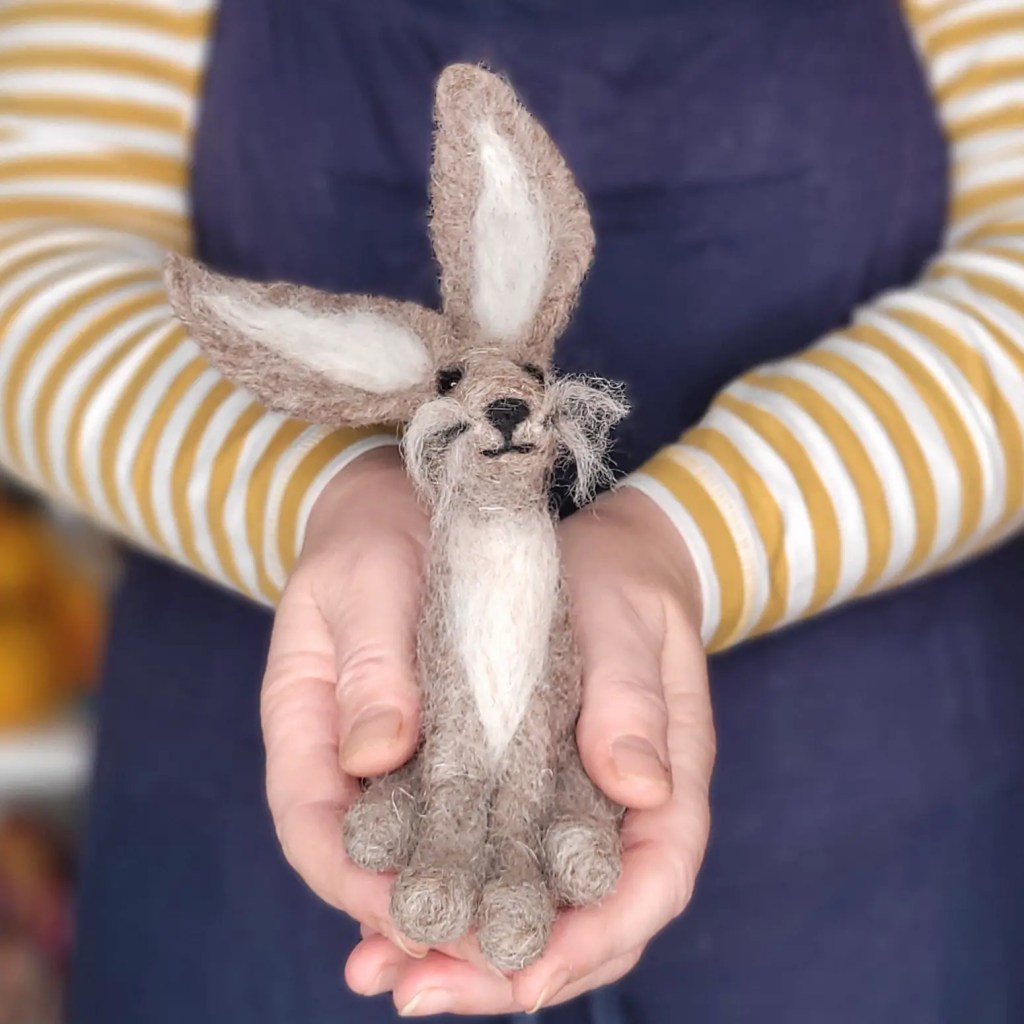
- Patterns are an excellent way to begin, and I’ve been designing and creating them since 2014.
- I’ve taught thousands of nervous crafters how to needle felt through my workshops, patterns, free video tutorials.
- My patterns include everything you need to get started: Including a materials list, detailed instructions, and video tutorials to guide you step by step.
- Projects can range from just 15 minutes to a few hours.
- With over 60 inspiring patterns there is something for every skill level and style.
DISCLAIMER: Needle felting is highly addictive! It can, and does, lead to compulsive creativity. I cannot be held responsible for lost hours, or even days.
13 Keep away from pets
Pets love, love, love wool. The only thing they love more is destroying your beautiful creation that you have invested blood, sweat and tears into. If you don’t want the sad demise of many a poor ‘feltie’ to become your story then store well away from the little darlings.
14 Practice – Boring but true
Practice makes perfect and I love pieces made with simple shapes; you can do so much with them once you have got the shape you want. Don’t expect to get it right first time so practise getting your basic shapes right before trying a more challenging piece. Please don’t run before you can walk and definitely don’t compare your first couple of makes to someone who has been felting for years.

15 Just do it!
Grab the opportunity to get creative, whatever that looks like for you. Colouring books, needle felting, gardening… it doesn’t matter what you choose, as long as it brings you joy. And if fear of failing is holding you back, just remember this: you’re guaranteed to fail at 100% of the things you never try. Be kind to yourself. Honestly, what have you got to lose?
Try a Simple Needle Felted Sheep – Video Tutorial
Discover the absolute basics of needle felting. Nothing complicated, just what you need to know to create a charming, pint-sized needle felted sheep in just 40 minutes. Perfect for beginners!
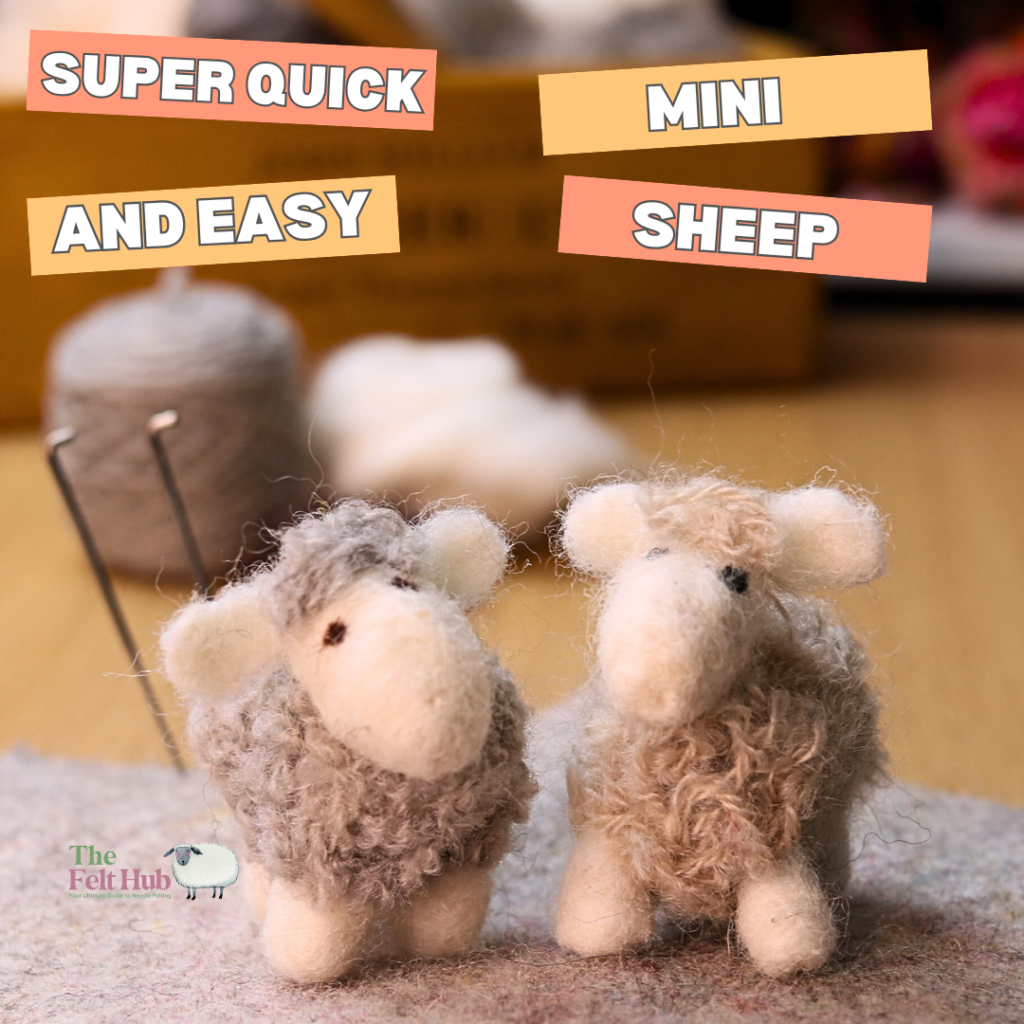

Watch The Mini Sheep Tutorial
NEEDLE FELTING VIDEO TUTORIALS TO GET YOU STARTED
There are lots of fabulous needle felting tutorials on my YouTube channel, The Felt Hub. For nervous beginners to confident needle felters, from woodland animals to flowers, gnomes, and fairies, there is a tutorial for everyone! If your needle felting journey is just beginning then these tutorials are the perfect place to start!
Watch The Video Tutorial
How to needle felt for beginners video tutorial. Felt along with me, workshop style, with this short, easy to understand video tutorial.


